- Contact Us
-

choose your language
-

Knowledge Base
Secure email - Import and use in Outlook 2019 and 365
Soution
Use these instructions to import a secure e-mail certificate (.p12 or .pfx) into Windows and configure it in Outlook
Requirements
- Secure e-mail certificate (.p12 or .pfx file)
- Password to the Secure E-Mail Certificate
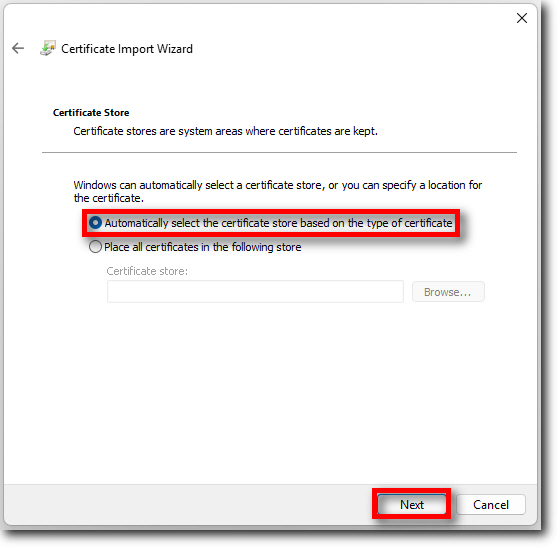
Import into the Windows certificate store
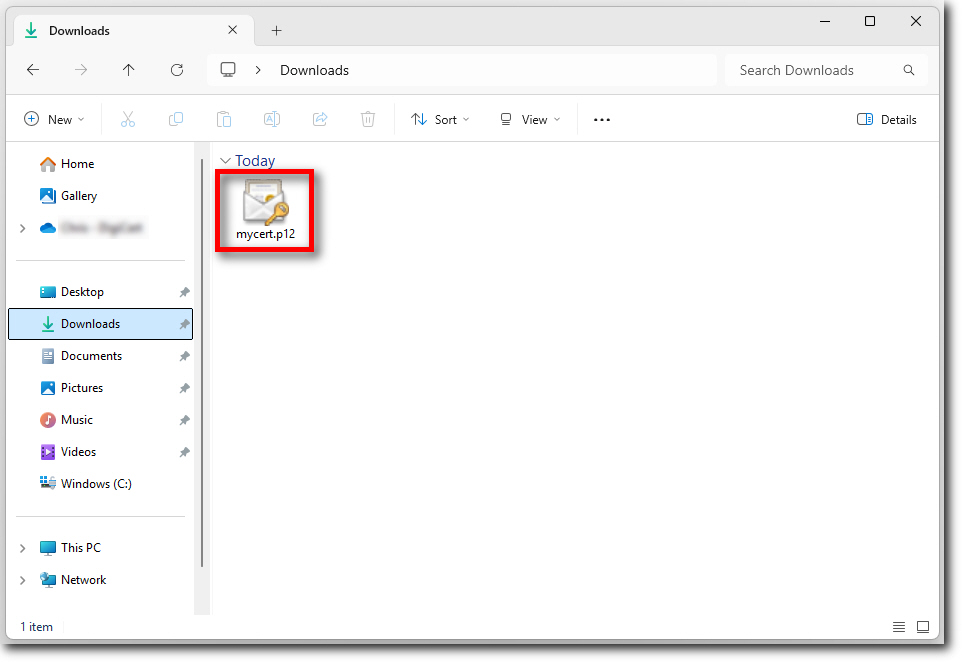
- Double-click the certificate file .p12/.pfx.
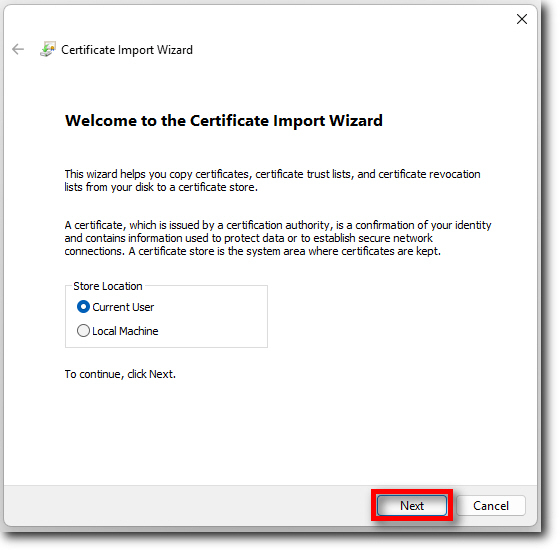
- Click "Next"
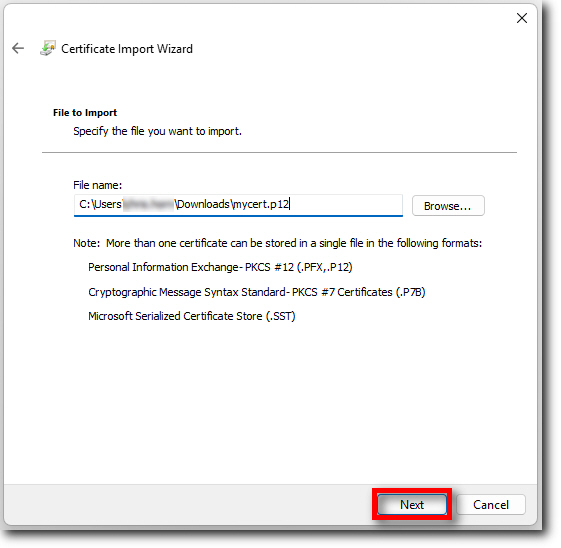
- Click "Next"
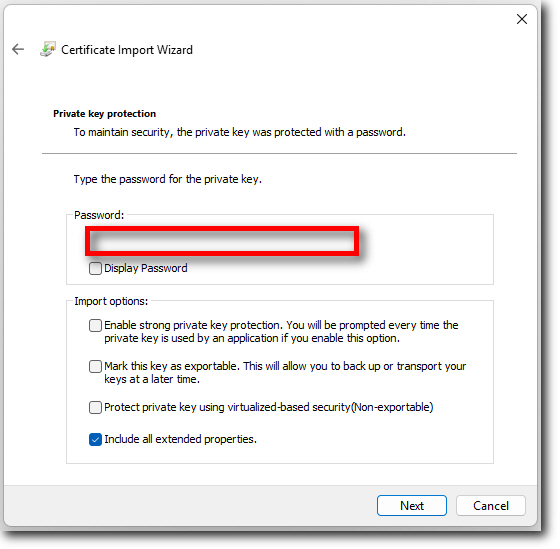
- Enter your password to your certificate file .p12/.pfx. After that click on "Next"
- Click on "Next"
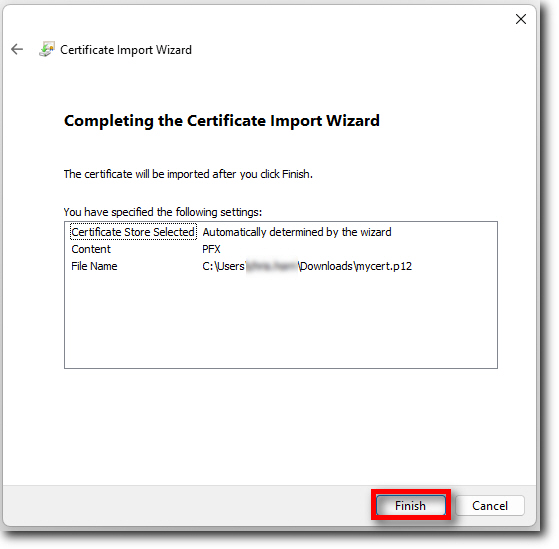
- Click on "Finish"
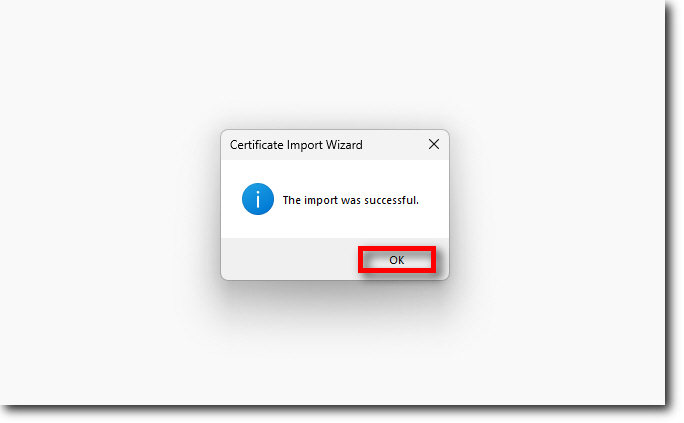
- Click on "OK"
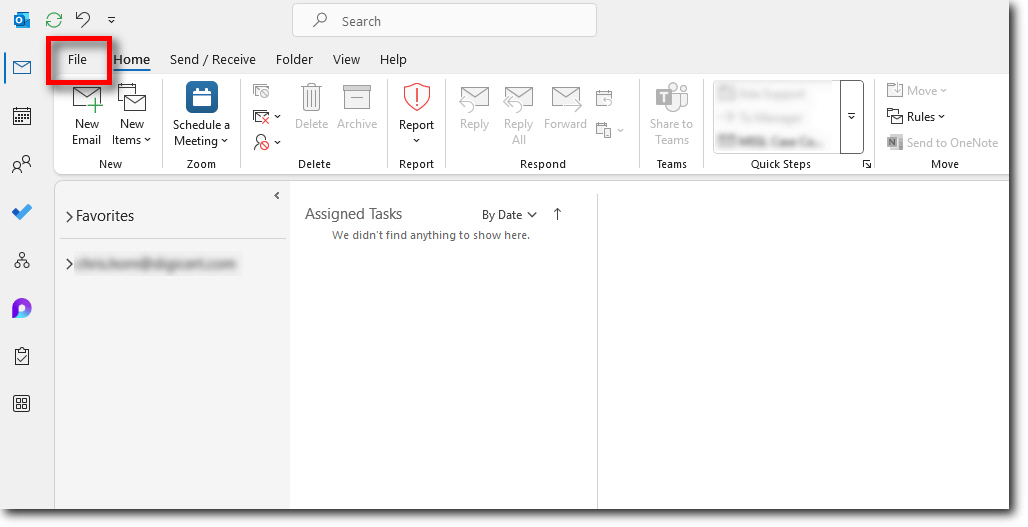
Configuration in Outlook
- Open Outlook
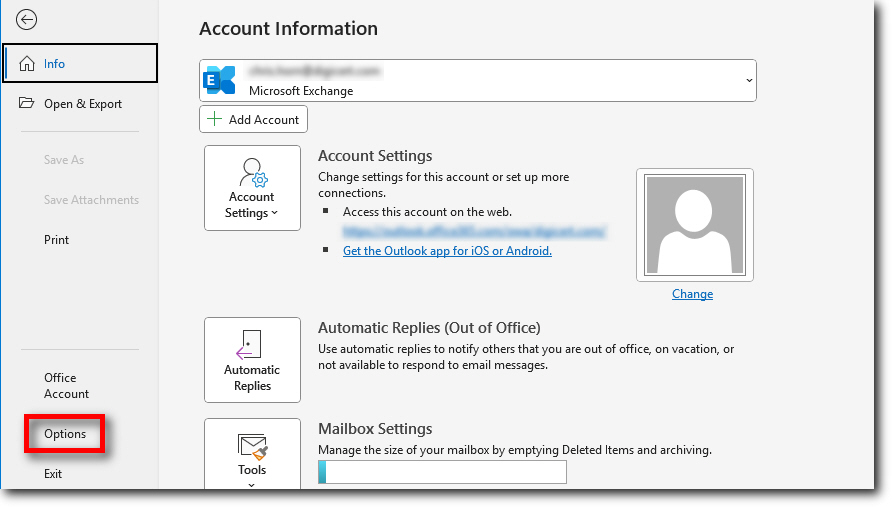
- Select the menu item "File" in the upper left corner.
- After that, click on "Options" in the lower left corner.
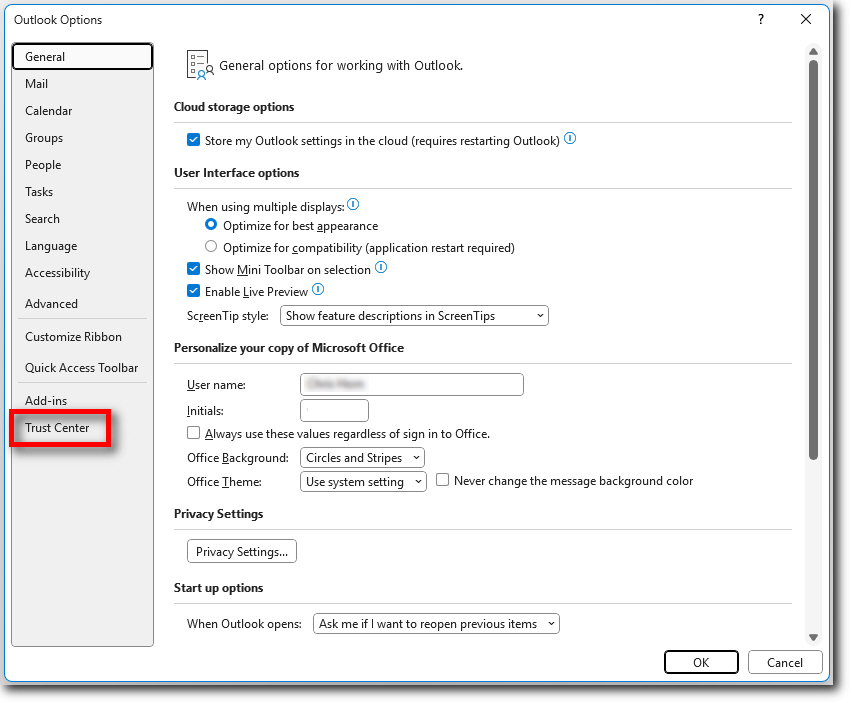
- Select "Trust Center".
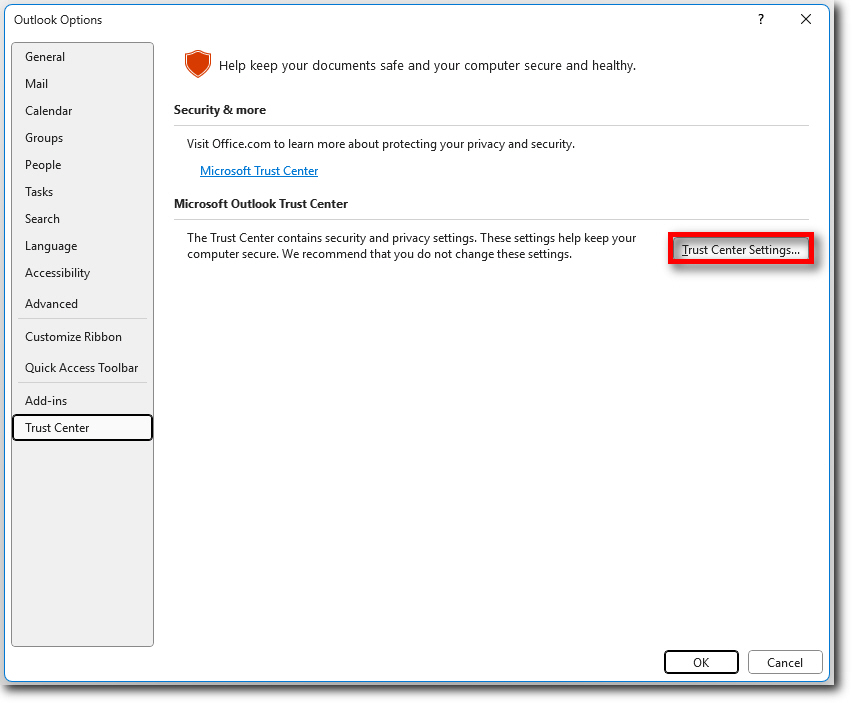
- Select "Settings for the Trust Center...".
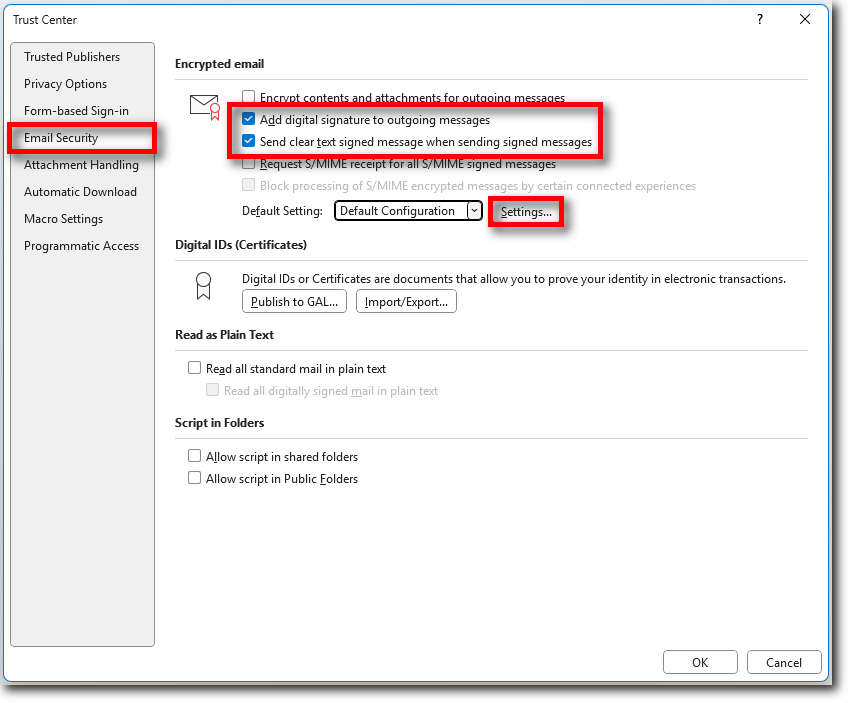
- Click on "Email Security"
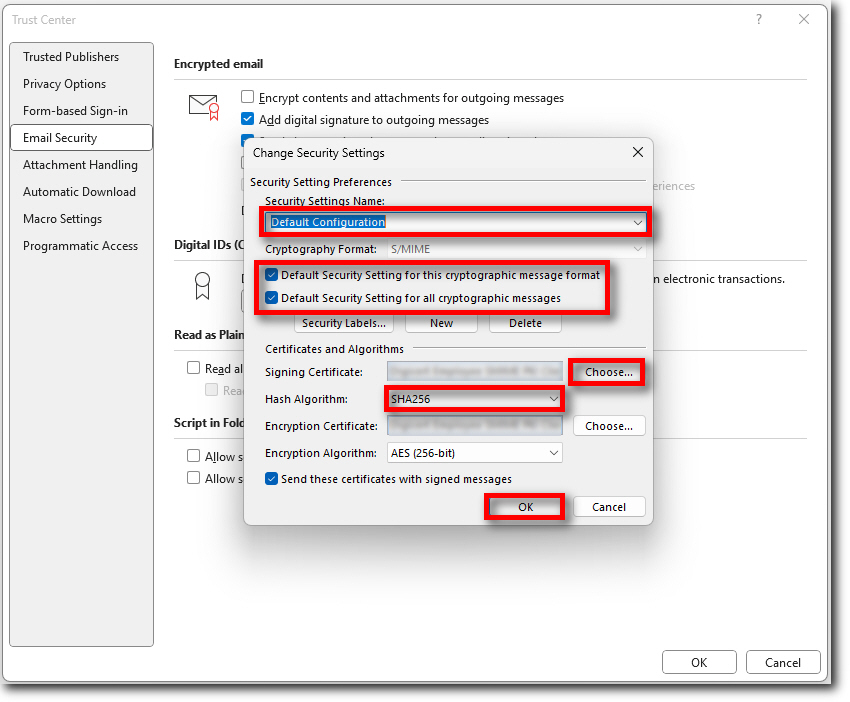
- Select the two checkboxes as shown below. Then click on "Settings".
- Enter a name for your S/MIME profile
- Mark both checkboxes as shown below. Change the hash algorithm to SHA256. Close all windows with "OK".
- Create a new message.
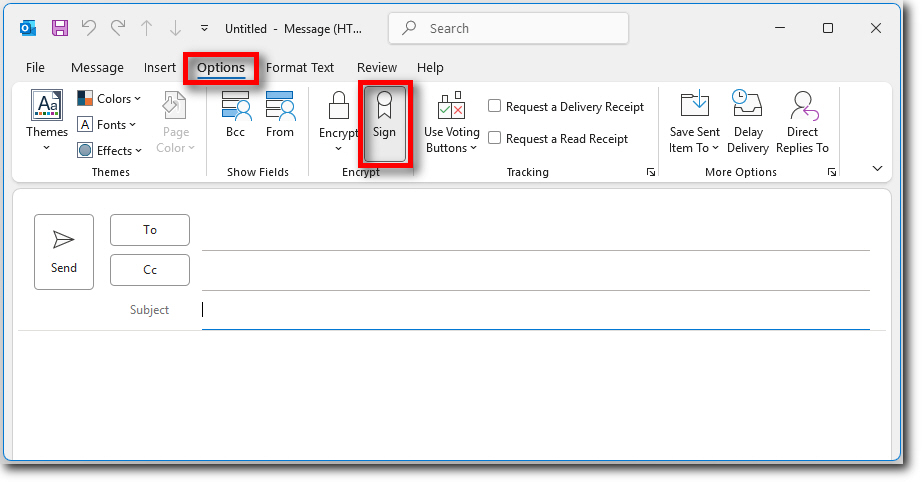
- Select the "Options" menu item.
- Check whether the "Sign" item is activated.
- After that, you can send a test message to yourself, for example.
Checking the signature
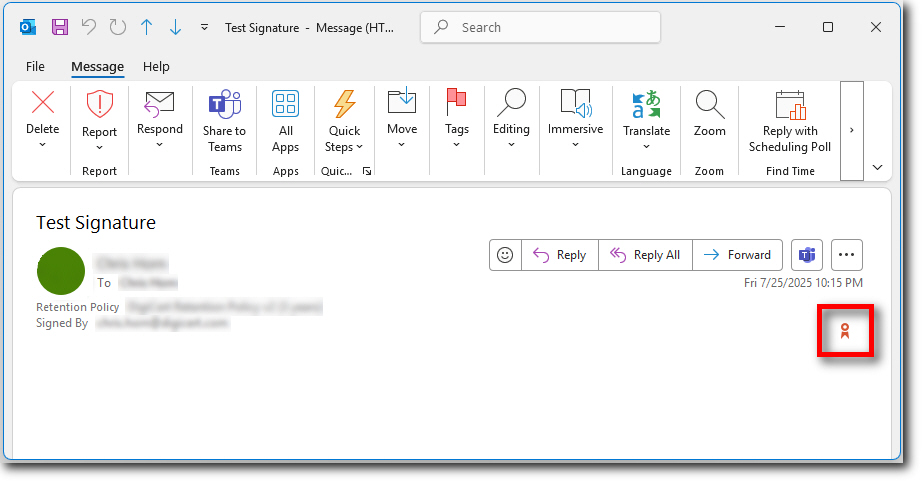
- Locate the message you just sent in the Outbox folder and open it.
- Click the signature icon on the right.
- The signature is displayed as valid.
- Close the window by clicking on "Close".
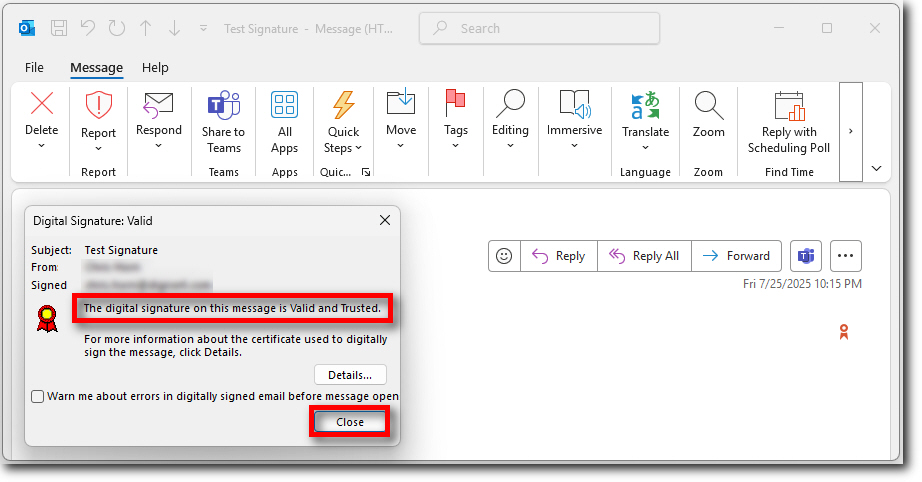
You have successfully set up and tested your signature in Outlook.
-

The most-trusted global provider of high-assurance TLS/SSL, PKI, IoT and signing solutions.
-


-
© 2022-2025, DigiCert, Inc. All rights reserved.
Cookie Settings
