- Contact Us
-

choose your language
-

Knowledge Base
Configure & Test Issuance of Certificate using Yubico's YubiKey | PKI Platform 8 only

- Introduction
- Pre-requisites
- Summary of Configuration Steps
- Detailed Configuration Steps
- Getting YubiKey working with VMWare Workstation
- Additional Information
- Known Limitations
![]()
Introduction
This how-to article explains how to configure a DigiCert PKI Platform certificate profile to enforce the use of Yubico's YubiKey to store/manage a certificate that can then be used for smart card logon.
Pre-requisites
- YubiKey Smart Card Mini Driver (Windows), CAB download available from:
https://www.yubico.com/products/services-software/download/smart-card-drivers-tools/
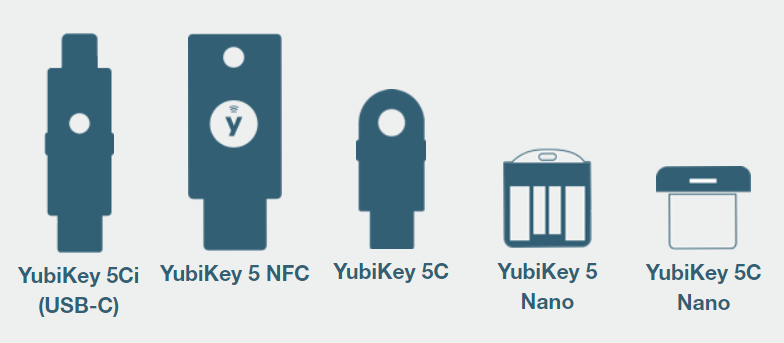
- Use a supported Series 5 YubiKey token - other tokens may work, but have not been formally qualified by DigiCert:
- Windows 7 or Windows 10 operating system
Note: MacOS is not supported
- DigiCert PKI Client, which can be installed by end-users inline (as part of the enrollment process), or 'pushed' by Administrators via GPO or using their supported software distribution vendor. Contact your administrator for details on how to best get access to the DigiCert PKI Client.
- If using a browser to enroll for a certificate on a YubiKey, use a supported browser (Internet Explorer 11, Chrome or Firefox), and the appropriate PKI Client browser plugin extension:
- For Firefox: https://addons.mozilla.org/en-US/firefox/addon/digicert-pki_client-extension/
- For Chrome: https://chrome.google.com/webstore/detail/digicert-authentication-c/ikepfmbgiedamphopfpgomnipacokgol?hl=en&gl=US
Note: Google no longer allows Chrome extensions to be installed inline by third party applications, they need to be installed directly via the Google Store. See this DigiCert Knowledge Base article for details:
https://knowledge.digicert.com/generalinformation/mpki-8-pki-client---chrome-extension-installation.html
Summary of Configuration Steps
- Install YubiKey Smart Card Mini Driver
- Create Certificate Profile
- Enroll for a certificate using a YubiKey
- Check Issued Certificate on Yubikey via PKI Client Agent
Detailed Configuration Steps
Follow the steps below in order.
Install YubiKey Smart Card Mini Driver
- Use a Windows 7 or 10 physical workstation to download the YubiKey Smart Card Mini Driver from the below location:
https://www.yubico.com/products/services-software/download/smart-card-drivers-tools/
Note: to use the YubiKey through a VMWare Workstation virtual machine see section at the bottom of this article
- Unzip the .cab file, which will show the below content:
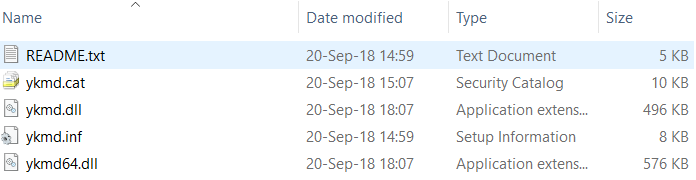
- To install the driver. on a Windows 10 workstation, right-click on the ykmd.inf file and click Install
Note: If you do not have Administrator rights, you will be prompted to enter them
For Windows 7, you must install the driver via Device Manager.
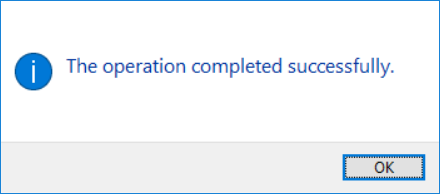
- If the installation is successful, a pop-up window will appear:
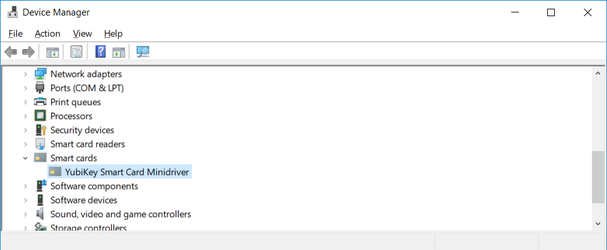
- You can check the driver has been installed by inserting your YubiKey into a USB slot, launching Device Manager on your workstation and searching for Smart cards:
- Check the visibility of the YubiKey token via the DigiCert PKI Client agent by launching PKI Client on your Windows workstation, and ensuring you see the Security Device icon:

Create Certificate Profile
- Access PKI Manager using a PKI Administrator with privileges to create/manage certificate profiles:
https://pki-manager.symauth.com/pki-manager/
- Click on Manage certificate profiles icon
- Click on Add certificate profiles
- Select Test or Production mode
- Select the Smart Card Logon certificate template:

Note: you can select any certificate template that supports PKI Client, e.g. Client Authentication, Secure Email, etc
- Click Continue
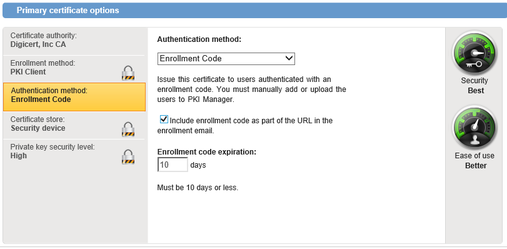
- Under Primary certificate options, enter a Friendly name for the certificate profile and select the following:
- Enrollment method: PKI Client
- Authentication method: Enrollment Code, Manual approval or Active Directory
In this example, the Enrollment Code method is being configured, the code is being included as part of the enrollment URL sent via email to the end-user, using the maximum expiration of 10 days:
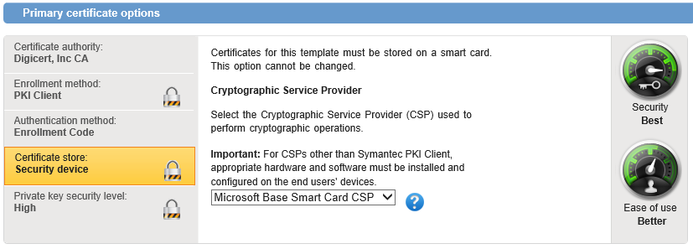
- Certificate store: Security device, and select the "Microsoft Base Smart Card CSP" from the drop-down list:
- Configure all remaining certificate profile options as required, to meet your certificate use-case
- Click Save
- By default, the Email address will be configured as the Seat ID identifier (see the "Customize user identification" panel on the right-hand side):
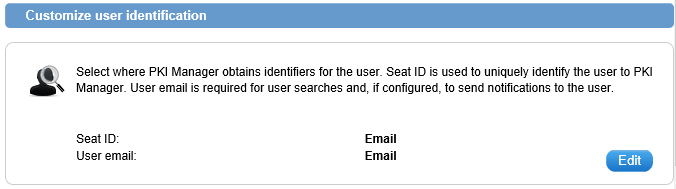
Alternatively, you can click on Edit and select the Other Name (UPN) field:

Enroll for a certificate using a YubiKey
The below steps explain how to manually create a user on PKI Manager and how to enroll such user against the certificate profile created above.
Note: if you are deploying a profile using other Authentication Methods (e.g. Manual approval and Active Directory), the enrollment steps vary.
- Access PKI Manager with a PKI Administrator with privileges to create/manage Users:
https://pki-manager.symauth.com/pki-manager/
- Click on Manage users icon
- Click on Add users → single user → enter an email address:
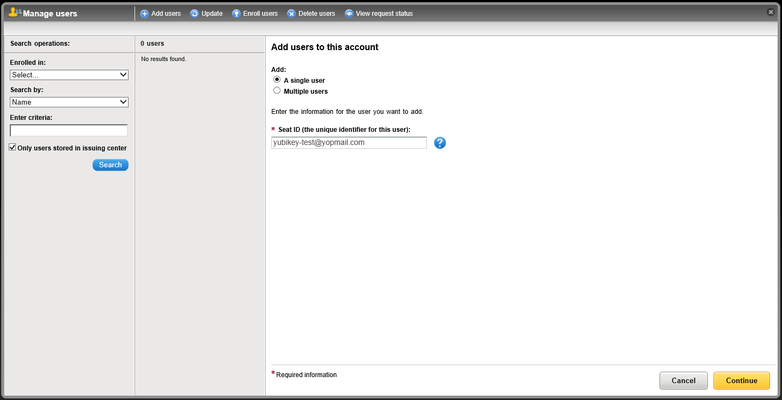
- Click Continue
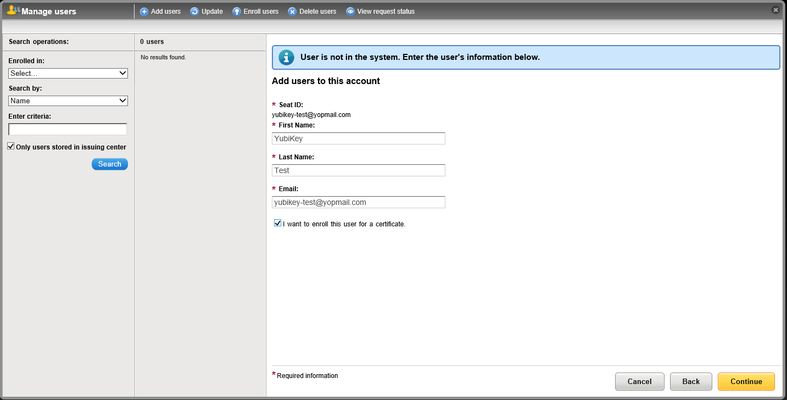
- Enter the user's First and Last Name, and select the "I want to enroll this user for a certificate" checkbox:
- Select the certificate profile you created earlier from the drop-down list:
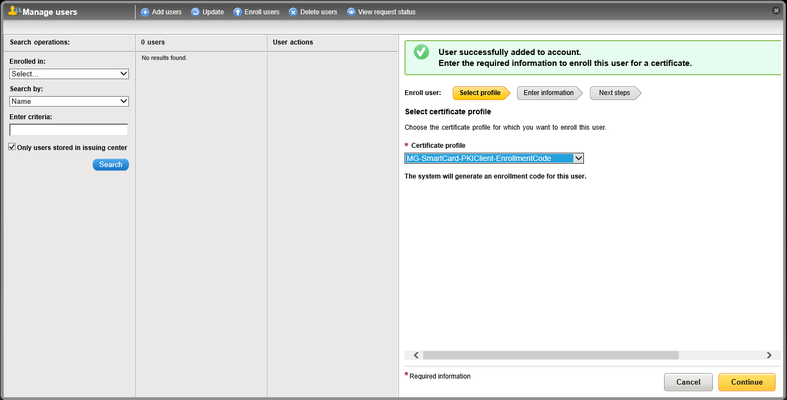
- Click Continue
- Enter the user's UPN, Email address, and select the checkbox to send the enrollment code to the user via email:
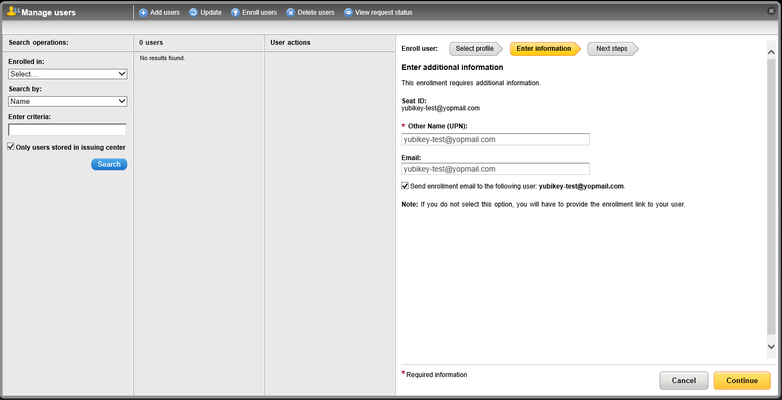
- Click Continue
- If successful, a screen will show the system-generated Enrollment Code generated for this request:
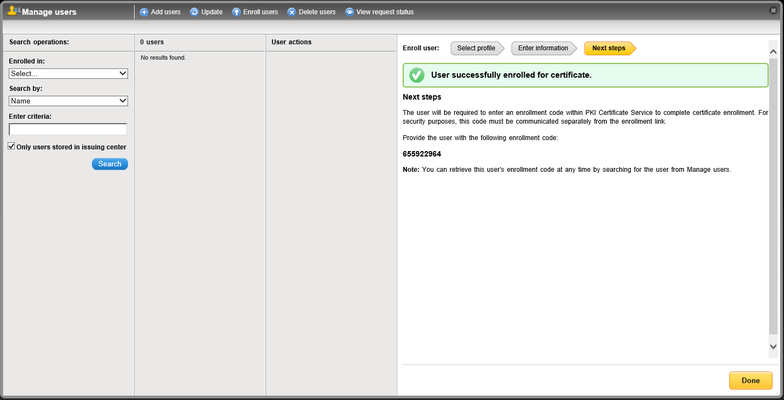
- Click Done, where you will be redirected to a page where you can manage the user's Enrollment Code and Email:
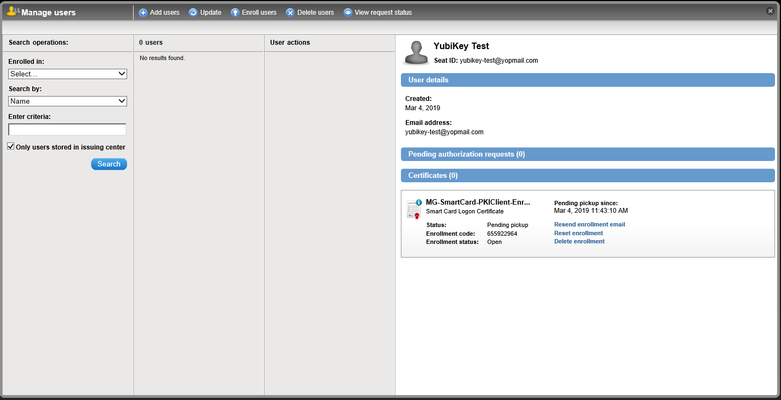
- Check your email Inbox for an email from "Enterprise PKI Team":

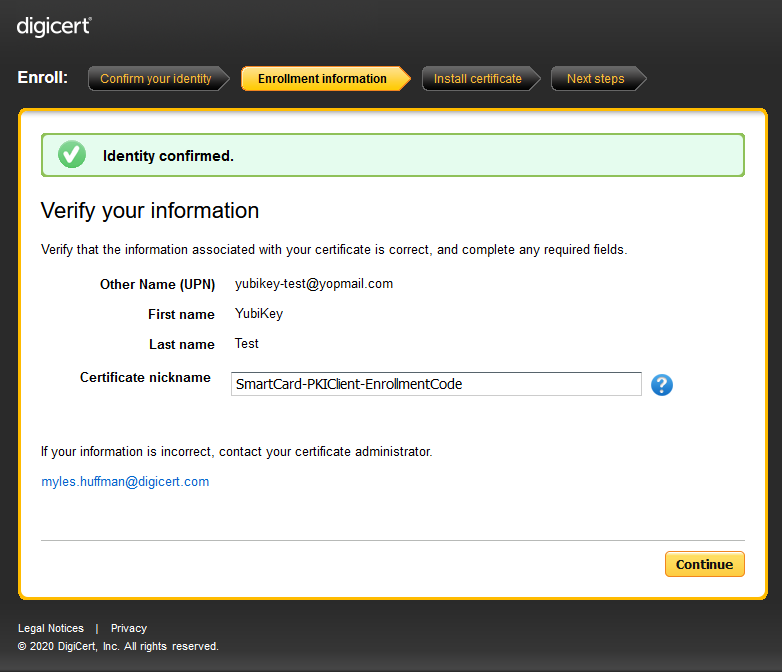
- Click on the enrollment link within the email. The below screenshots make use of the Chrome browser, where your identity will be automatically confirmed since the enrollment code is included within the URL:
Note: if PKI Client is not installed on the workstation, you will be prompted to download/install it.
- Insert a supported YubiKey into a USB slot, and optionally, modify the certificate 'nickname'
- Click Continue and wait until the web page completes its background processing:
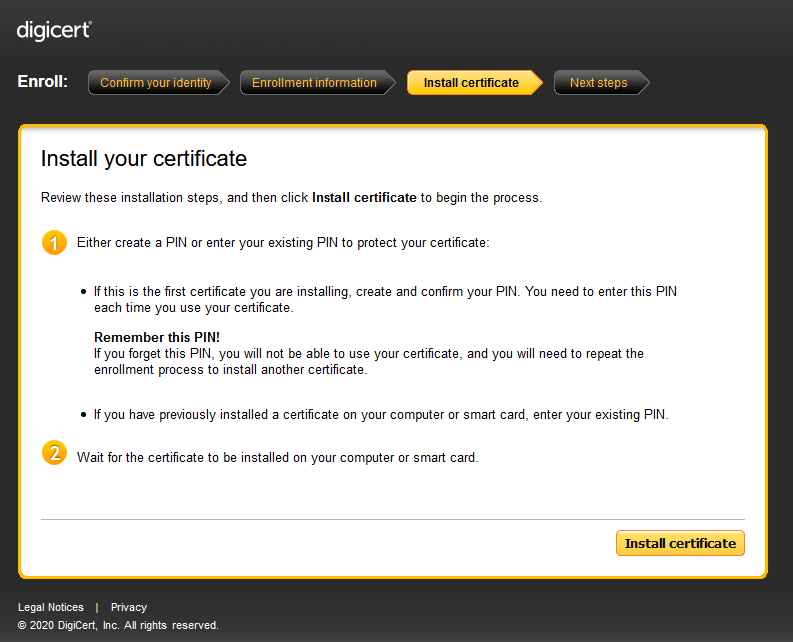
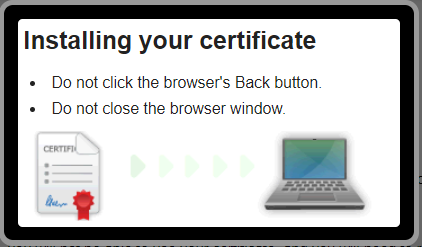
- Click on the Install certificate button, and the below message will be shown:
- A pop-up window will appear requesting the PIN for the YubiKey token (default PIN is 123456):
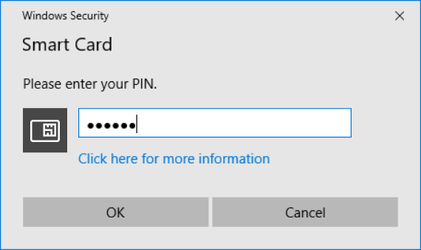
- Click OK
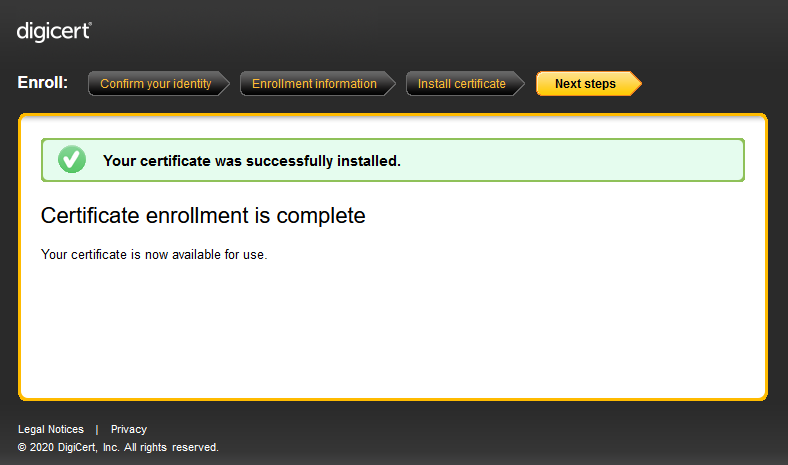
- If successful, this message will be shown:
Check Certificate via PKI Client Agent
Perform the below steps on the Windows workstation you enrolled for the certificate using a YubiKey.
- Launch PKI Client:
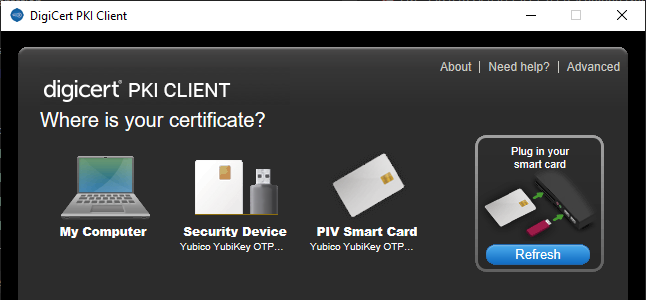
- Click on the Security Device icon to view all certificates installed on the YubiKey:
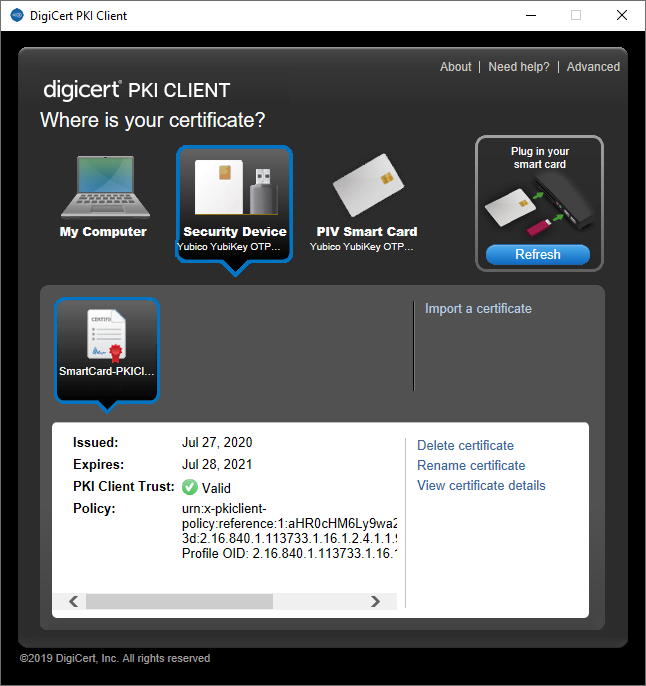
- Click on View certificate details to view the contents of the certificate:
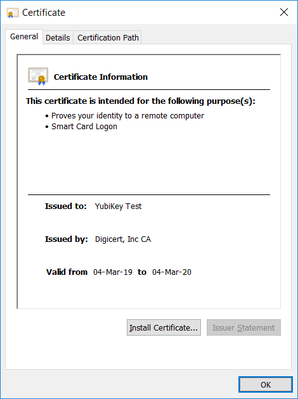
- Your workstation is now ready to consume the DigiCert certificate installed on the YubiKey token, e.g. use it for Windows smart card logon, remote access via VPN, signing/encrypting an email, etc.
Getting YubiKey working with VMWare Workstation
You can follow this Yubico Knowledge Base article on how to configure/troubleshoot VMWare Workstation guest virtual machine to passthrough the details of a connected YubiKey on a host device to your guest VM.
To summarize, you need to edit your VMWare VMX file and add the following two lines:
- usb.generic.allowHID = "TRUE"
- usb.generic.allowLastHID = "TRUE"
- usb.generic.allowCCID = "TRUE"
Here ia an example vmx file with the above lines added:
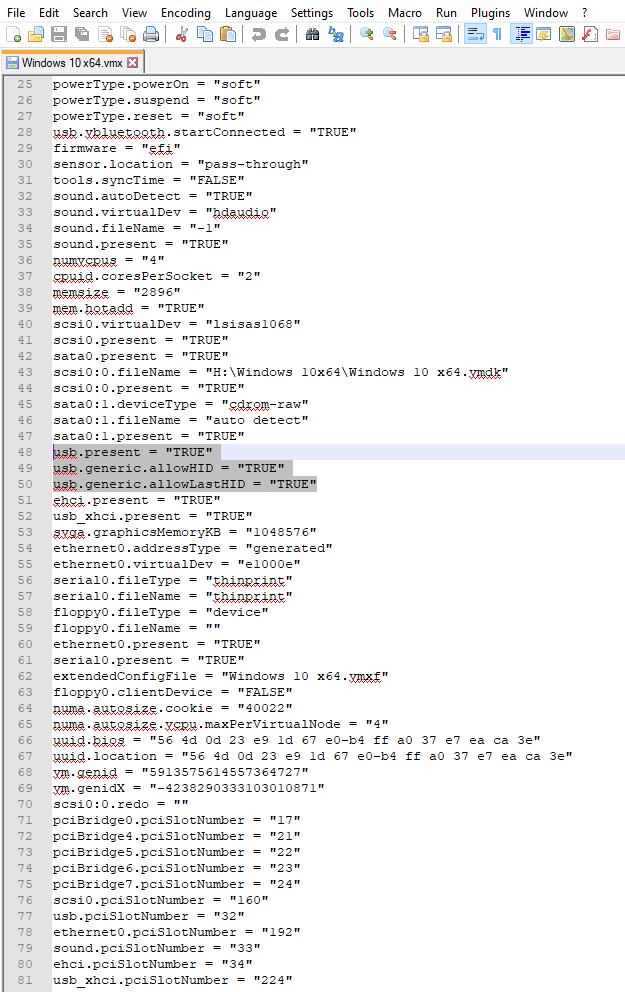
Once the above lines have been added and the file saved, you can select the Yubico.com removable device from VM → Removable Devices → Connect
You select the actual Yubico.com device, and not the Shared device. If you select the shared device to passthrough it will not work.

Additional Information
YubiKey Documentation
https://www.yubico.com/wp-content/uploads/2017/10/YubiKey_Smart_Card_Minidriver_User_Guide_10_2017_RevA.pdf
Identifying your YubiKey
https://www.yubico.com/products/identifying-your-yubikey/
Yubico - DigiCert PKI Platform
https://www.yubico.com/works-with-yubikey/catalog/digicert/
Known Limitations
MacOS has not been qualified for YubiKey.
-

The most-trusted global provider of high-assurance TLS/SSL, PKI, IoT and signing solutions.
-


-
© 2022-2025, DigiCert, Inc. All rights reserved.
Cookie Settings
