
- Contact us
-

choose your language
-

Knowledge Base
API Calls through Postman For Web
Overview
Postman is a free program that allows you to manage, save, and make API calls for a more streamlined experience. In this tutorial, we will cover how to set up your first API call in Postman using the Constellix DNS API Collection.
Common Use Case for Using Postman
Postman is especially helpful for API testing and management and is much less tedious than running curls by hand in a terminal. With this tool, you can analyze APIs created by someone else or test your own.
Prerequisites
- You already have a Postman account
- You have created a Workspace in Postman or are using the default workspace (Personal or Team)
- You have already generated API keys in Constellix
How to Make Constellix API Calls Through Postman For Web
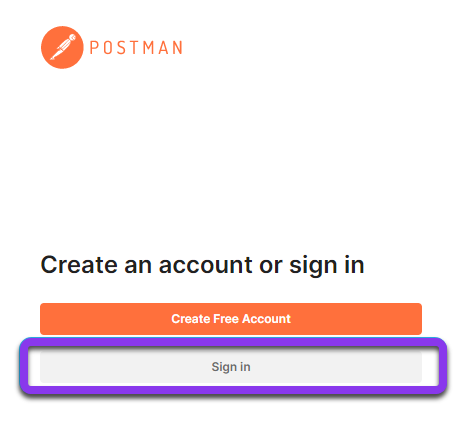
- Sign In to Postman
Open Postman and log in to your account.
- Open Constellix API Page and Run Postman
In a new tab or window, open the Constellix API Documentation page. Click the orange Run in Postman button at the top-right of the screen.

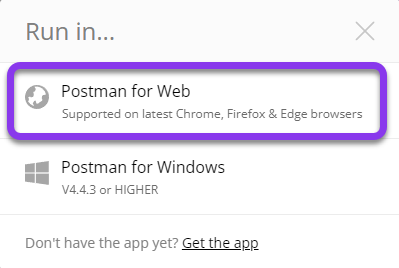
- Choose How You Want to Run Postman
In the Run in… window, choose where you want Postman to run:
Postman for Web (Supported only for Chrome, Firefox, Edge)
Postman for Windows (Mac or Linux, depending on your machine)
In this tutorial, we will be using Postman for Web on Chrome.
Once you make your selection, you will be directed to the following page:

- Retrieve Constellix API credentials
In a new tab or window, retrieve your API credentials by accessing the Constellix User Management Console.
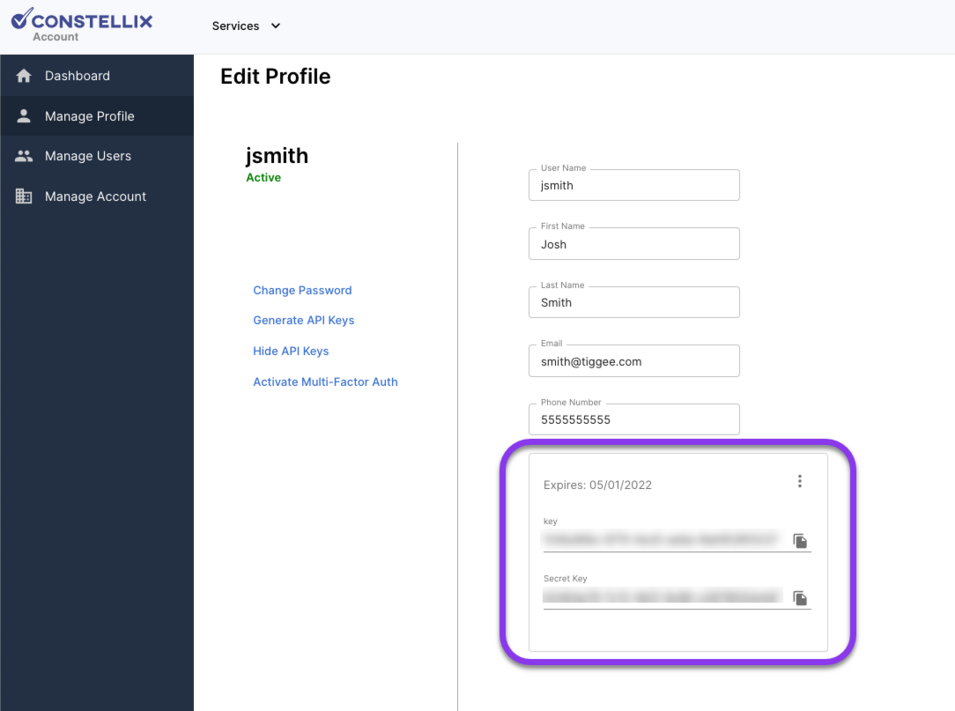
Note: If you have not yet generated an API key, visit our How to Generate an API Key tutorial.
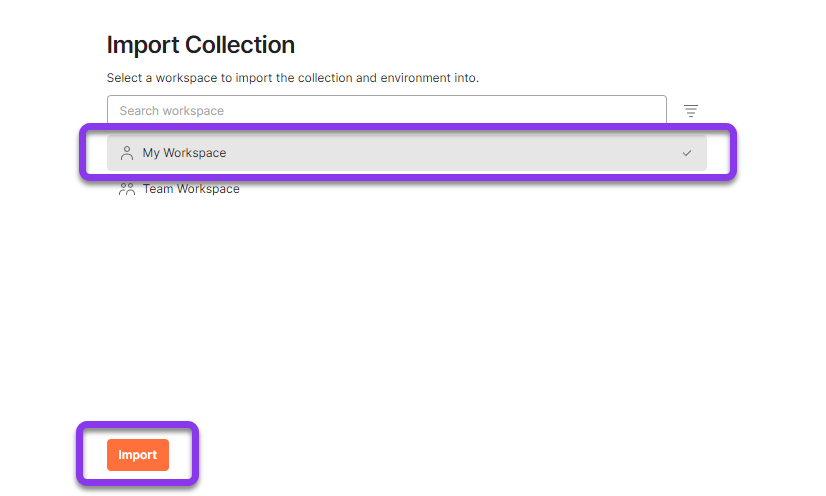
- Import Collection
Before you can create a new environment, you will need to Import the Contellix API collection to a workspace. Choose a workspace and then click the orange Import button.
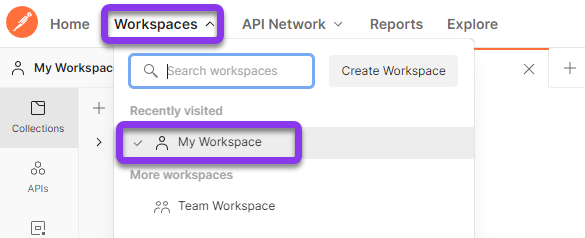
- Enter Workspace
From the top left menu, click on Workspaces, and then select the workspace you wish to use.
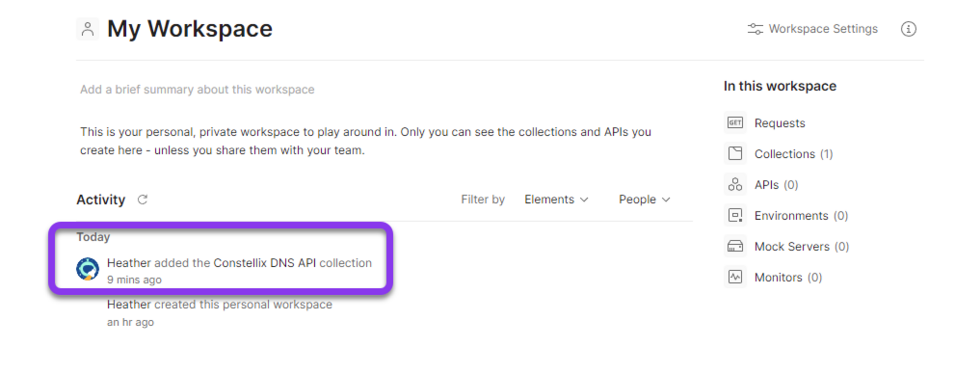
- Create New Environment
Once in your workspace, you should see that the Constellix DNS API Collection was added to your Activity list.
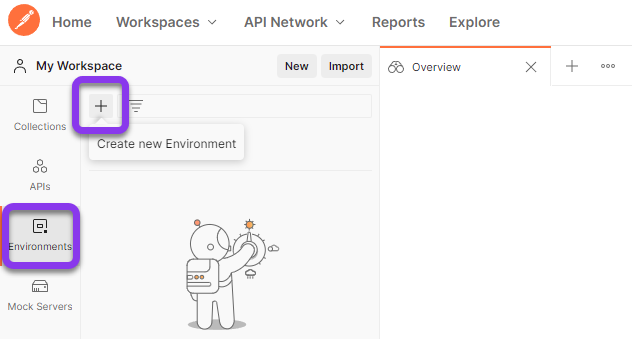
To create a new environment, press the Environment button located in the left-hand menu and then click the + icon.
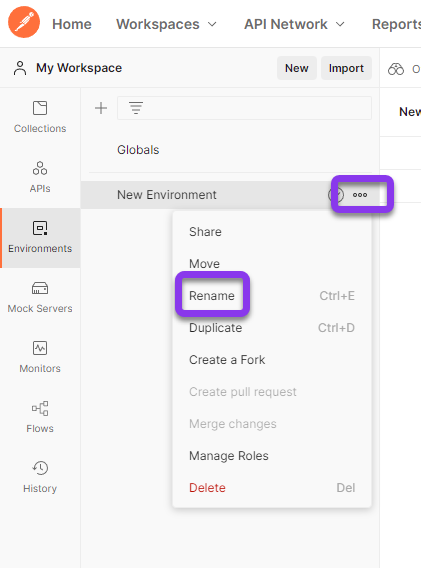
Optional (but recommended): Rename your environment by clicking the horizontal ellipsis to expand options, and then choose Rename (for this tutorial, we renamed the environment Constellix API).
- Add New Variable and Enter Constellix API Key in Postman
First, enter the word apiKey (case sensitive) into the Variable field in Postman. Next, enter the actual API Key into the Initial Value field. Once entered, the Current Value field will be auto-populate with the key information.

- Add New Variable and Enter Secret Key in Postman
Enter the word secretKey (case sensitive) into the Variable field in Postman. Next, enter the actual Secret Key into the Initial Value field. Once entered, the Current Value field will auto-populate with the secret key as well.
Next, click Save on the right-hand side of the screen to save the keys in Postman.

- Navigate to Collections and Choose API Call
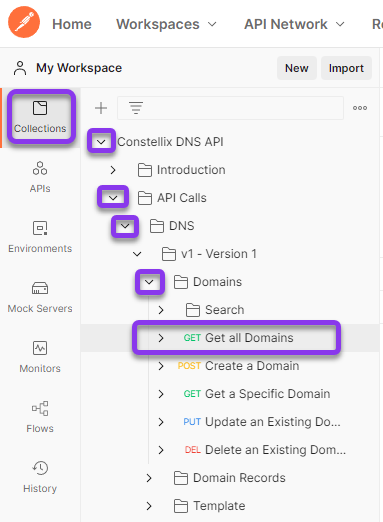
From the left-hand menu, choose the option for Collections (first option), then use the arrow icons to expand the Constellix DNS API options. For this tutorial, we will be using Get all Domains as an example.
Constellix DNS API > API Calls > DNS > v1 - Version 1 > Domains > Get all Domains.
- Click Get All Domains API Call Option and Send
Once you have found the API call you want to use, click on Get All Domains (or whichever call you chose).
After clicking Get All Domains, the necessary URL for the API call auto-populates. Click the blue Send button to complete the API call.

Tip: If you get an error after clicking Send, be sure you actually saved your keys in Postman (see step 8).
You should now see all your domains, domain IDs, and much more information in JSON format.

Visit our website for more information on our services and features.
-

The most-trusted global provider of high-assurance TLS/SSL, PKI, IoT and signing solutions.
-


-
© 2022-2025, DigiCert, Inc. All rights reserved.
Cookie Settings
