
- Contact us
-

choose your language
-

Knowledge Base
Edit a Billing Group
Constellix provides account administrators with the ability to add contact groups for ease of management. Groups are helpful for customizing billing notifications based on events. This tutorial will walk you through the process of editing contact groups previously configured in the Constellix Billing Console.
Note: Visit our Constellix Billing FAQ for common questions related to our Billing Console features.
Prerequisites
- A domain or Sonar check has been added to your account
- You have already added one or more contacts to the Constellix Billing Console
- You have previously created one or more billing groups
Note: For help creating a contact in your list, visit our Create a Billing Contact tutorial.
How to Edit a Billing Group in Constellix
1. Navigate to Manage Contacts
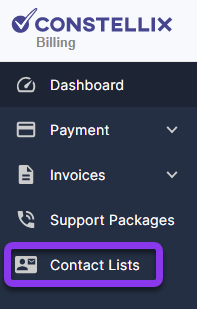
After logging into Constellix, navigate to the Billing portal. Select Contact Lists in the menu on the left-hand side of the dashboard page.
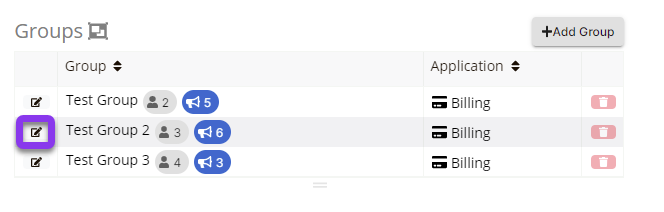
You should now be on the Manage Contacts and Groups page.
2. Select a Group
Click the edit icon beside the group that you want to edit.
3. Edit Group
In the Group popup window, you can change the group name, add or remove a contact from the group, and enable or disable group events.
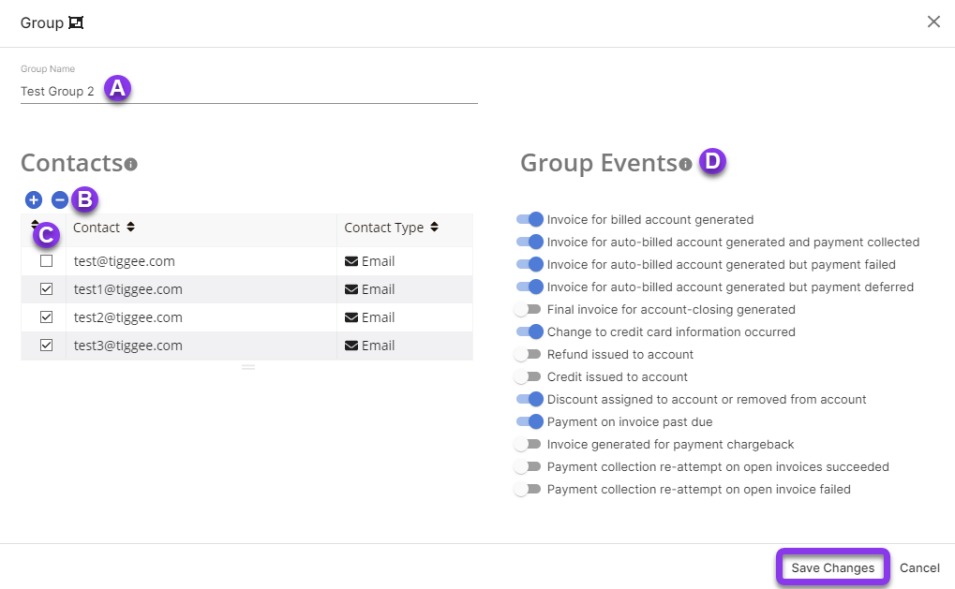
a) Edit group name: You can update a group name at any time.
b) Select or deselect all: If you want to add or remove all contacts from the group, you can do so quickly by clicking the blue + or - icons under Manage Contact Groups.
c) Select contacts: Manually add or remove contacts from certain groups.
d) Update group events: Enable or disable events for the group by clicking on the slider beside the desired event.
To save your adjustments, click Save Changes at the bottom right of the window.
To edit additional groups, repeat steps 2 and 3.
-

The most-trusted global provider of high-assurance TLS/SSL, PKI, IoT and signing solutions.
-


-
© 2022-2025, DigiCert, Inc. All rights reserved.
Cookie Settings
