Knowledge Base
Introduction to the Management Console
The Constellix Management Console allows you to manage the company and user account information, API key access, multi-factor authentication, and user passwords and permissions. This guide will facilitate common processes that can be configured within the admin console.
Logging In to the Constellix Management Console
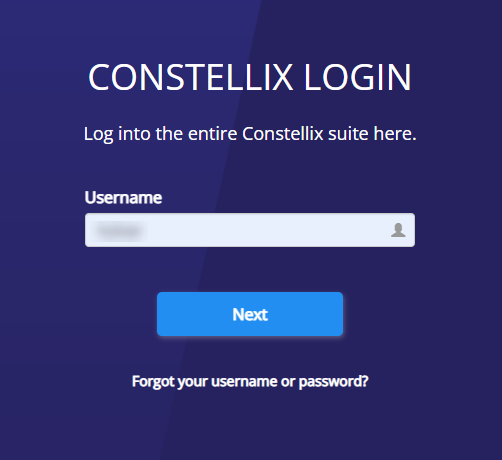
Logging into the Constellix Management Console can be done by clicking the Login dropdown located at the upper right-hand corner of Constellix’s main page.

Enter your username and click Next.

Enter your password and two-factor authentication (2FA) code (if previously enabled) and click Next. If you do not have 2FA configured, you will only see the password field.

The Management Console can also be accessed from other dashboards if you are already logged into another.
Note: Access points vary depending on which Constellix app you are currently using.
Constellix Management Console Sections
There are three different pages within the Constellix Management Console: Manage Profile, Manage Users, and Manage Account.
Dashboard Welcome Screen
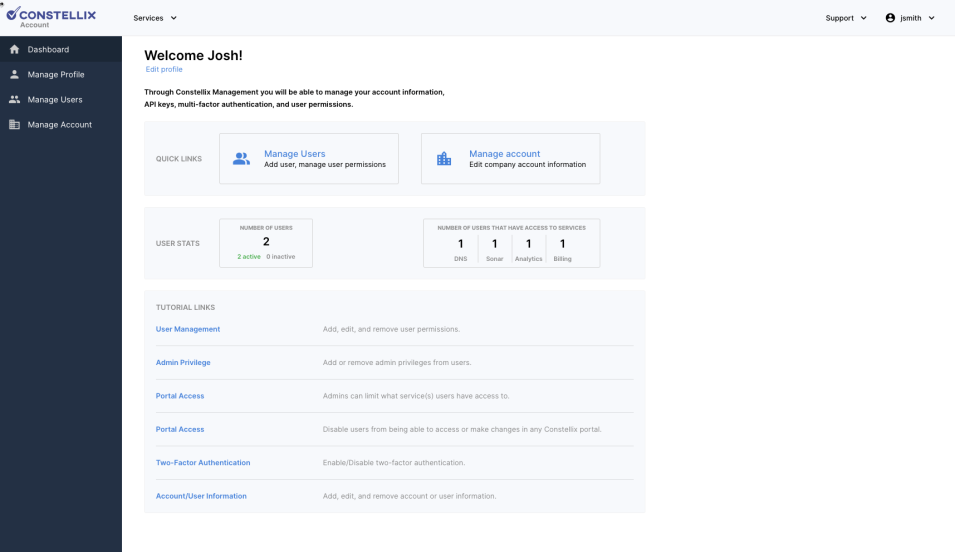
Upon logging in, you will be presented with the Dashboard screen. This page includes at-a-glance statistics and the most used links and information.

Quick Links
The Quick Links section includes direct links to the Manage Users and Manage Account pages of the console. This offers an alternate way of getting to other pages in the console. Optionally, they can be accessed from the left-hand menu. These sections will be further detailed below.

User Stats
The User Stats segment of the Dashboard allows you to view statistics related to your user base without having to switch pages. It provides you with the number of users that you have added to your account. This section also breaks down how many of those users are active and inactive. The number of users that have access to services such as DNS, Sonar, Analytics, and Billing is arranged in the User Stats section.

Tutorial Links
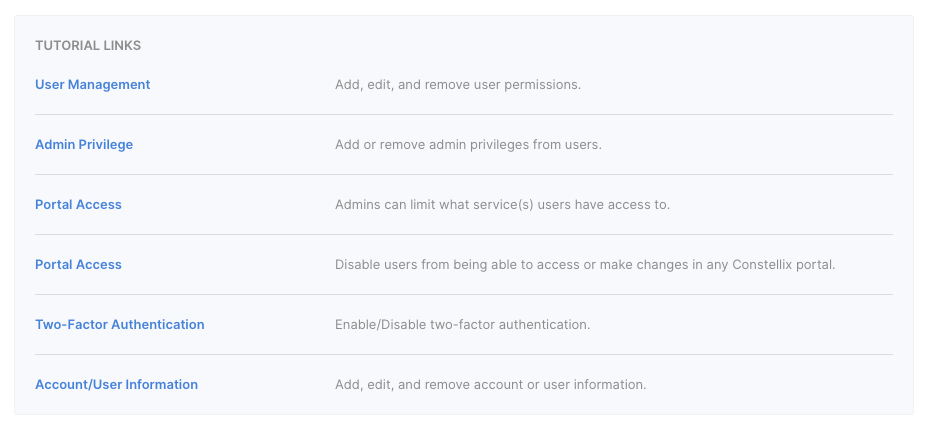
Links to the most common processes that can be completed within this console are included on the Dashboard page to help quickly locate what you need.

Manage Users Page
This section allows administrators to view the users that have been added to your account. Modifications to user accounts can also be made from this page.

The Add User button located on the top-right corner of the screen allows admins to create new users within the console. The list of existing users will display the primary user that was created during account creation or migration as the “Admin.” The admin has privileges that let them change user account information and roles, as well as limiting access to portals within the Constellix suite, such as DNS, Sonar, Analytics, and Billing.
| Field | Field Description |
| Username | This field displays the username of the employee registered in the console. |
| Role | The role field displays the permission granted to the registered user or administrator. Note that the admin accessing this page will be grayed out to protect the configured permissions for the account. |
| Name | The first and last name of the user is displayed in this field. |
| Active | This section shows if the user is active or if their account was deactivated. The check indicates the user account is active. |
| DNS | If this box is checked, the user has access to the DNS service. |
| Sonar | If this box is checked, the user has access to the Sonar service. |
| RTA | If this box is checked, the user has access to the RTA service. |
| Billing | If this box is checked, the user has access to the Billing service. |
| 2FA/Multi-Factor | The checkbox in this field indicates if the user has enabled two-factor authentication (2FA) for their account. |
| SAML | The checkbox in this field indicates if the user has enabled Security Assertion Markup Language (SAML) for their account. |
Manage Account Screen
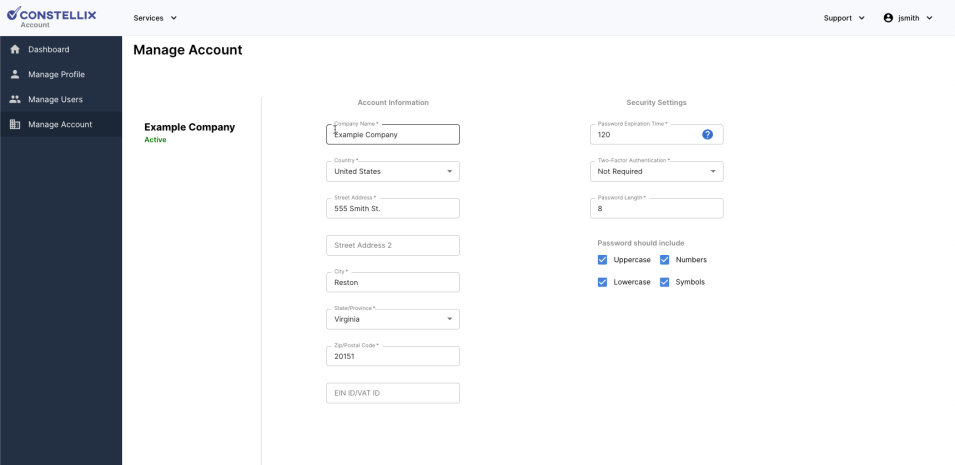
The Manage Account portion allows admins to check the status of and make changes to the company account and set password requirements for all users.

Account Status
You can check the status of the account on this screen. Under the company name on the left, you will see “Active” in green or “Inactive” in red.
Account Information
In the Account Information section of this page, the organization’s name and address can be added or edited. This is also where the Employer Identification Number (EIN) is entered.
Security Settings
The user security settings can also be managed from this screen. The admin can set or modify password parameters, such as password expiration time, number of failed logins, password length, and character requirements.
Two-factor authentication can also be set up here. Once enabled on the admin side, the company can require all users to set it up for their accounts. Admins can then enforce this policy by checking the Manage User page to see who is in compliance.
Page Related Tutorial Links
The following tutorials will guide you through processes related to the Manage Users section of the Constellix Management Console.
- Add a User
- Change User Password
- Deactivate a User
- Edit User Details
- Edit User Permissions
- Remove User API Keys
- Setting up Two-Factor Authentication
Visit our website for more information on our services and features.

