Knowledge Base
Remove IP Filter from a Record
Overview
This tutorial will guide you through the process of removing an IP Filter currently applied to a record in your domain. For example purposes, we will be disabling a filter that has been applied to an A record, but the steps are the same for any record using a filter (AAAA, CNAME, or ANAME).
Common Use Case for Removing IP Filters
Removing an IP Filter may be necessary if you no longer want to use the filter on a particular record but the record is still needed for your domain. This is also helpful if you want to keep the IP Filter in your Constellix account for future use.
Prerequisites
- You have created an IP Filter for your domain that needs to be removed from a record.
How to Remove an IP Filter From a DNS Record in Constellix
- Log into Constellix and Select Domain
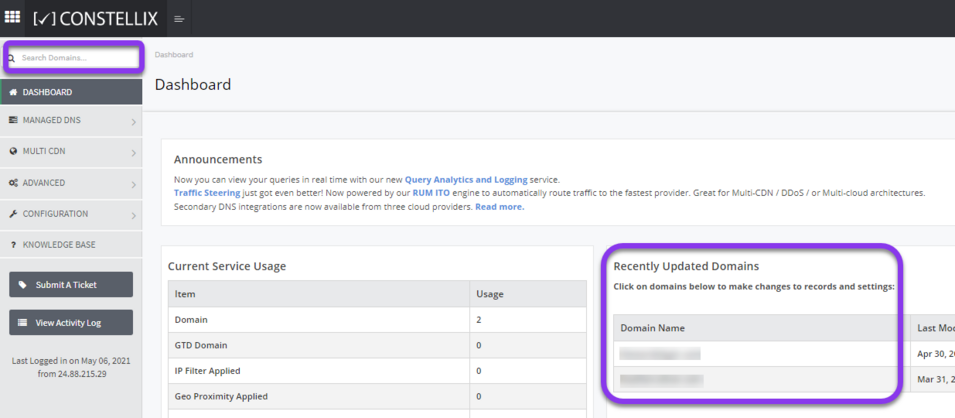
Log into Constellix. Once in the DNS dashboard, select your domain from the Recently Updated Domains list or search for the domain in the top-left search bar.

Select the domain you want to remove the IP Filter from.
- Delete Record with Custom Filter
Select the record using the custom IP filter by checking the box next to the name. Next, click the red trash can icon.

- Review and Apply Changes for Deleted Record
In order for the above change to take effect, you will need to commit your changes.

Tap “click here” to commit the change. If you need help with this step, visit our Committing Changes in Constellix DNS tutorial.
- Edit Record with World Default Setting
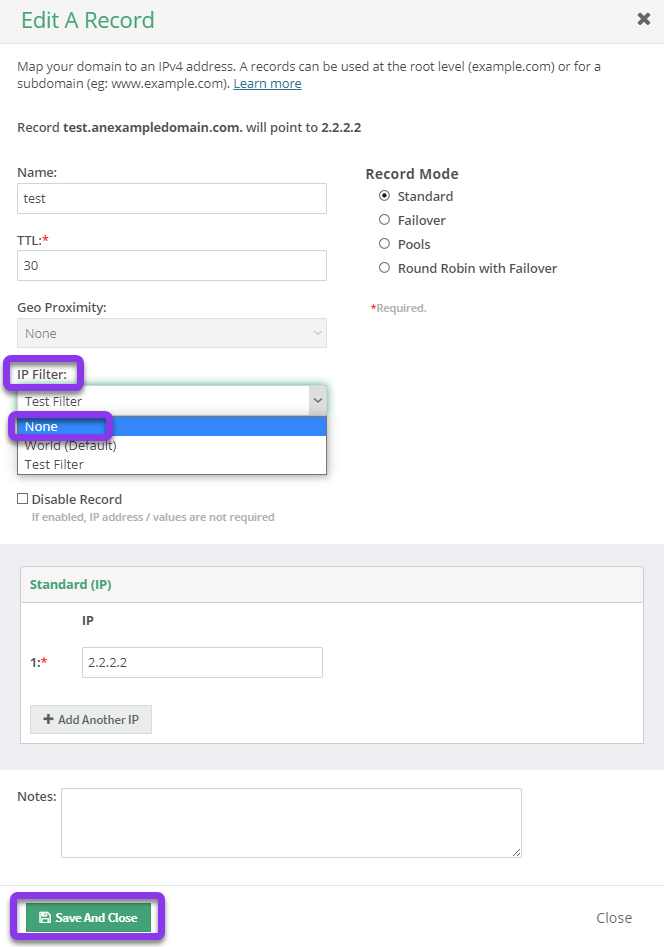
In the Edit A Record pop-up window, select the option None in the IP Filter dropdown menu. Make adjustments to the IP value(s) and TTL settings (if needed), and then hit the green Save and Close button.

- Review and Apply Changes
Upon clicking OK, you will be prompted to commit your changes again.

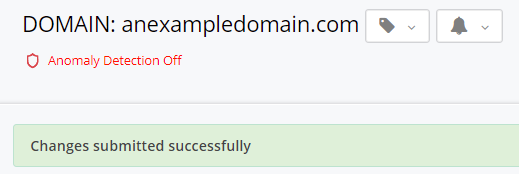
Once you have committed your changes, you will see a message confirming your changes were submitted successfully.

Visit our website for more information on our services and features.

