Knowledge Base
Import Domains from Google DNS
Constellix offers API integration with major providers such as Google DNS, AWS, and Azure. In this tutorial, we will walk you through the process of importing a domain from Google DNS into Constellix’s Traffic Management system.
Note: There are several steps in this tutorial that will take place in Google DNS. We will touch on these steps, but for detailed information, refer to Google’s documentation. Keep in mind that if Google changes anything in its interface, it may not be immediately reflected here.
Common Use Cases for Importing Domains from Google DNS
Importing a domain using API credentials allows you to transfer your domain information quickly and efficiently. This is useful when you are switching providers or want to set up a secondary DNS configuration with Constellix.
Note: Constellix does not support traditional Secondary DNS. Instead, secondary configurations are Primary/Primary and are achieved through API. This setup will provide your domain with two authoritative nameservers that are always active.
Prerequisites
- You have a domain in Google that you want to import into Constellix
- You have a basic understanding of API calls
- You are familiar with Google’s Cloud DNS interface
Preparing to Import Domain On Google Cloud DNS
1. Log in to your Google Cloud account.
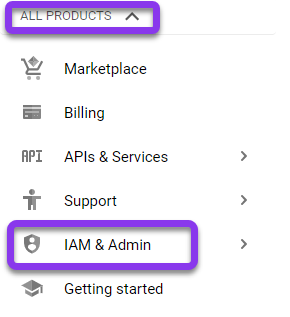
To begin, log in to your Google Cloud account and navigate to the IAM Permissions page. This will allow you to create roles and permissions.
Select the IAM Permissions option from the left-hand menu under “all products” from the main Google dashboard.
2. Add member
To add a member, click on the ADD person button from the IAM & Admin menu at the top of the screen.

3. Assign Member/Role to Your Google Project
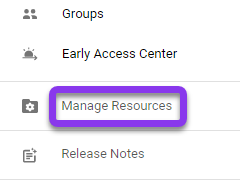
Before importing your domain into Constellix, you will need to add a member/role to your Google Project. To do so, click on Manage Resources near the bottom of the left-hand menu of the IAM & Admin area.
4. Select Project
Check the box next to the appropriate project name and then click the white Add Member button on the far right of the screen.

5. Assign role and Permissions
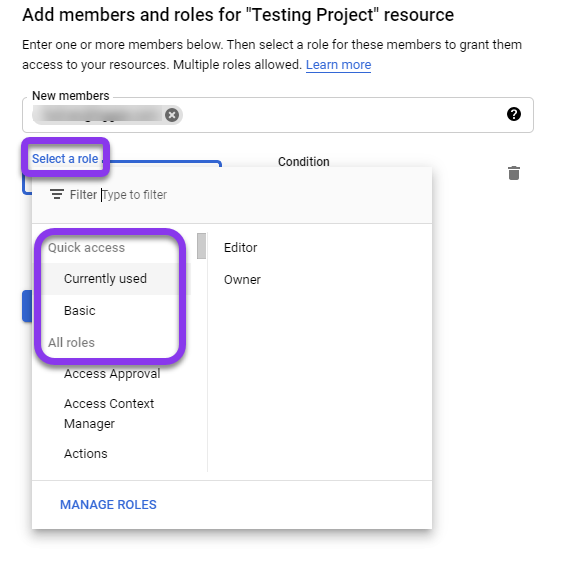
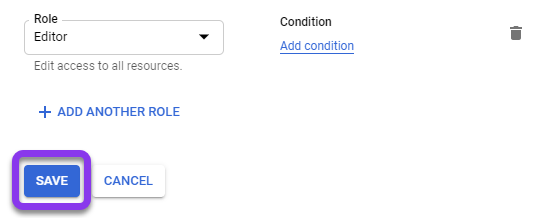
In the Edit permissions window, click on the Role dropdown option to expand choices and choose the appropriate role for the member. You can type the role in the Filter bar to narrow down options, select from the Quick Access options, or scroll through all roles. For example purposes, we selected the Editor role.
Note: For more detailed information about Roles and Permissions, please refer to Google’s documentation.
To save your new member and role, click the blue Save button on the left side of the Add Members window.
6. Add Conditions (optional)
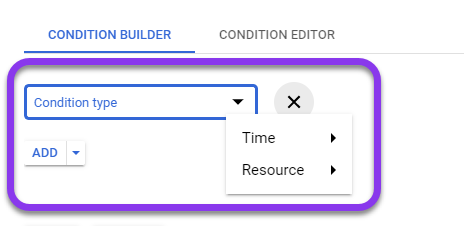
After choosing your role, you can add a Condition. Click Add condition to see available options. Please see Google Cloud’s documentation if you need help with creating conditions.
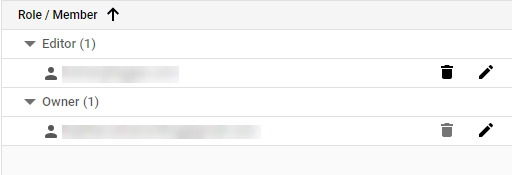
Once added, you will see the members and their roles listed when managing your resources for a project.
Note: If you need help with Google API options, visit their API documentation.
7. APIs Overview in Google
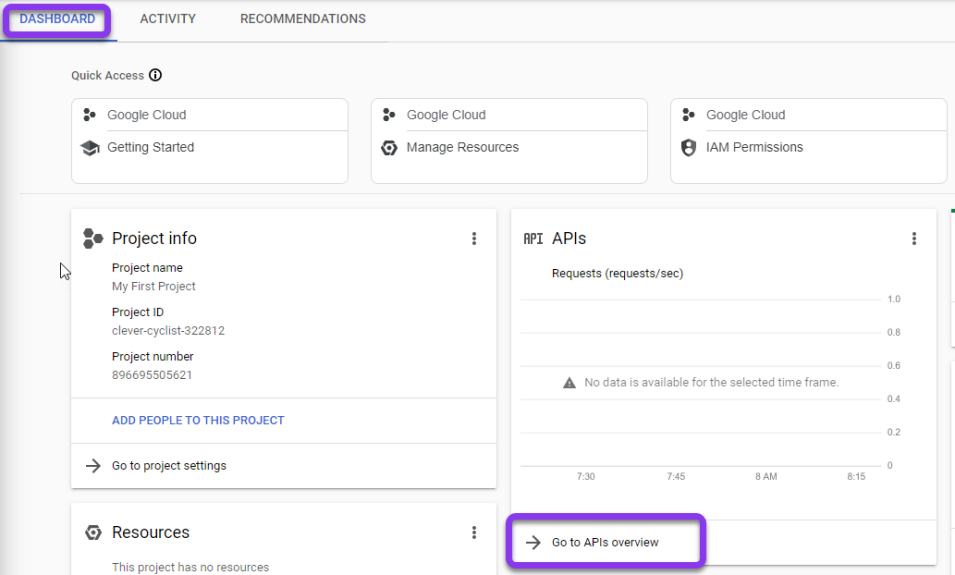
From the main Google dashboard, click on Go to APIs overview to access the API page (the API page can also be accessed from the menu on the left).
8. Navigate to the Credentials Dashboard in Google
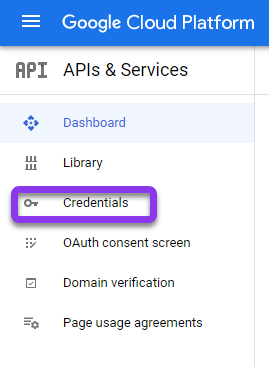
From the API page, select the option for Credentials in the left-hand menu.
9. Create Credentials
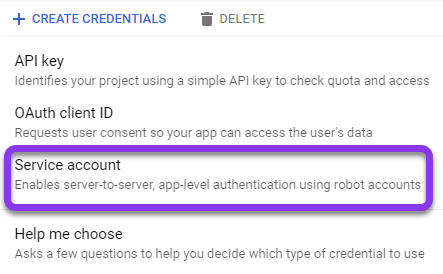
Once in the Credentials area, select + Create Credentials in the top menu.

10. Create a Service account
From the dropdown menu, select the option for a Service account.
Once you have created a Service account in Google, check the box next to the account name and choose Manage Keys under the menu in the Action column.

11. Create Key
In the Key area, click on the white Add Key button and select Create New Key.
Note: If you have already created a JSON key, skip to step 13.
12. JSON Key
Make sure the option for JSON is selected, and then click Make Key. This will prompt you to save the JSON file on your computer. Choose where you want to save the file on your computer, then click SAVE.
You will see a message confirming that the file has been saved to your computer. Click Close to dismiss the message.

Your key should now be showing as Active under Status in the Key dashboard.

Important: Make sure your API has been enabled in your Google Cloud account before moving on to the next step.
13. Copy JSON Value
Next, open the JSON file you saved to your computer with any text editor (notepad on PC or Text Editor on Mac, etc.) and copy the JSON value.

Preparing to Import Domain in Constellix
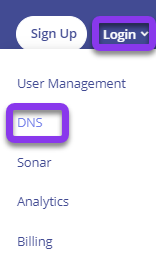
1. Log into Constellix DNS
2. Select 3rd Party Import
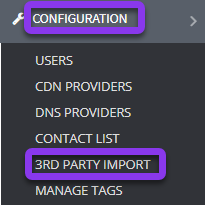
Once inside the Constellix DNS dashboard, click on Configuration in the left-hand menu and then choose 3rd Party Import.
3. 3rd Party Import in Constellix
Next, click on the gray + icon to expand Google DNS API options.

4. Enter Values into Constellix
Enter the Google project Id and the JSON values and then click the green Continue button.

5. Import Domain
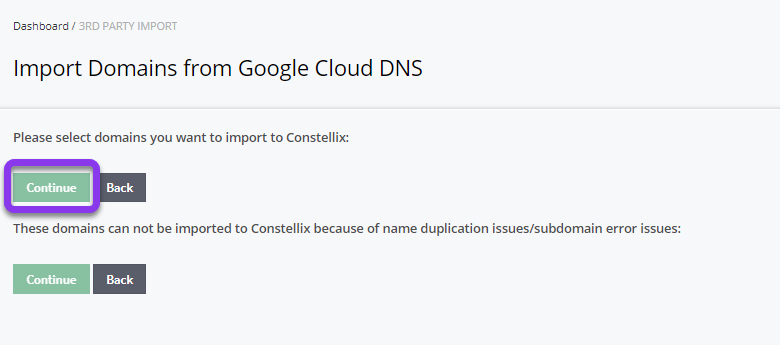
You will now be taken to the Import Domain page in Constellix. You will see all domains available for importing, as well as a list of those that cannot be imported.
Note: We do not have a domain managed by Google Cloud, so the below screenshot is just for example purposes of what page you should be on once you have entered your JSON values.
Once you have selected the domain you want to import into Constellix, click the green Continue button to complete the import.
Visit our website for more information on our services and features.


