Knowledge Base
Create Sonar Monitoring Checks
The following steps guide you through the process of creating Sonar monitoring checks:
1. Log In to Sonar
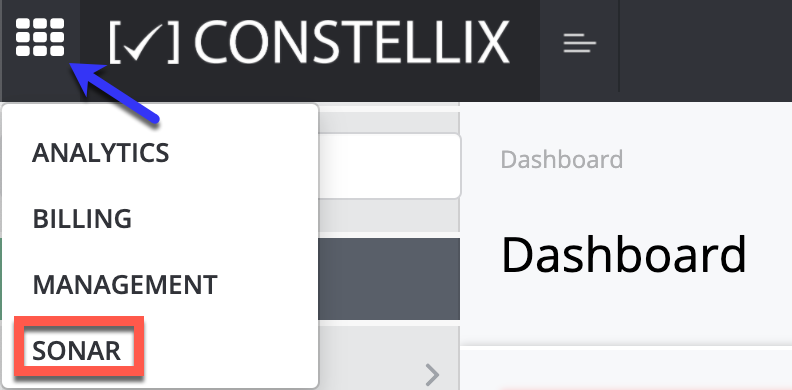
If you are already logged into another Constellix application, use the menu button in the top left corner to switch to the Sonar application.

2. Add a Check
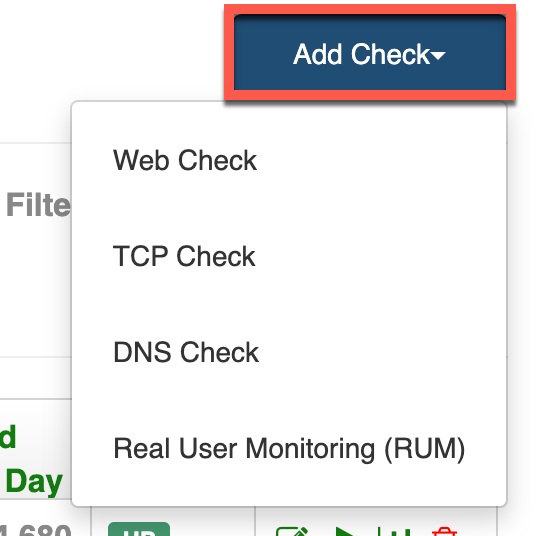
From the dashboard, click “Add Check” in the top right corner and choose the kind of check you want to create.

3. Configure and Save Check
There are four different kinds of checks you can create: web, TCP, DNS, and RUM.
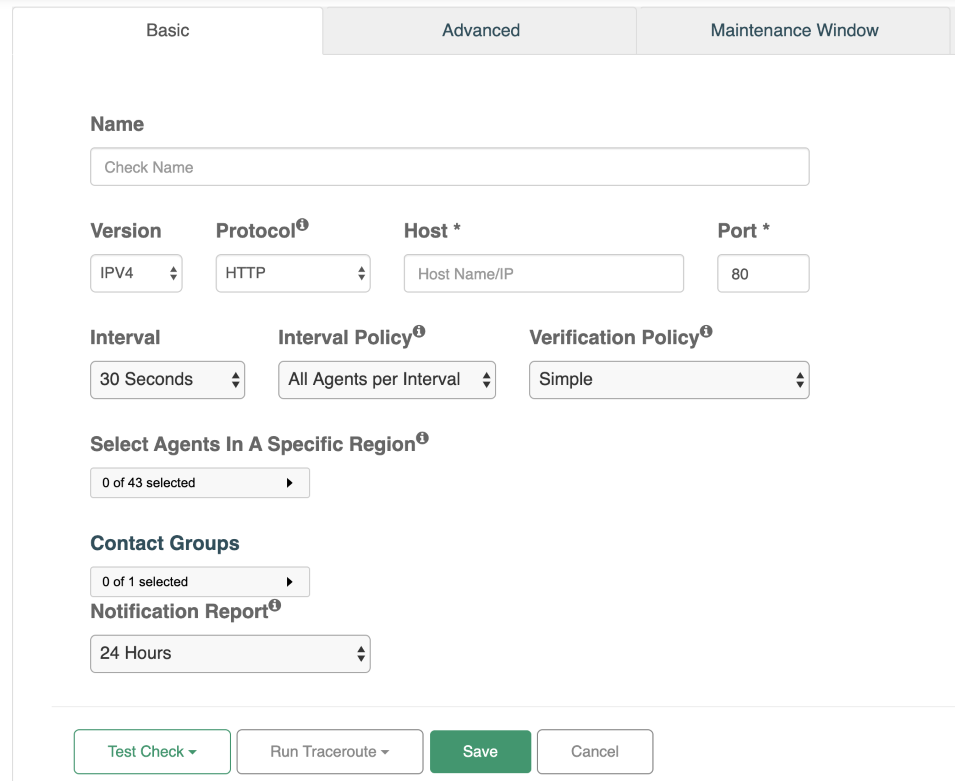
In this example, we will create a web check to monitor the IP addresses of our web servers.

Once you have entered the check information, you can run a test check or traceroute from a specific location, Save, or Cancel the check by clicking one of the buttons at the bottom.

For more information on how to configure different types of checks, click one of the following Hyperlinks: Web Checks, TCP Checks, DNS Checks, and RUM Checks.

