
- Contact us
-

choose your language
-

Knowledge Base
Create User Groups
Overview
DNS Made Easy allows you to organize users in groups within your account for ease of management. Each member of a group can share the same permissions or you can specify permissions for each individual user.
NOTE: This tutorial is only applicable to Corporate accounts or for Business accounts that have purchased additional services.
Common Use Case for Removing Sub-users in DNS Made Easy
Creating groups within your DNS Made Easy account lets you easily manage your IT team. Members can be segmented according to certain roles or permissions, and you can add, change, or remove groups at any time.
Prerequisites
- You have already created users for your account.
How to Create a User Group in DNS Made Easy
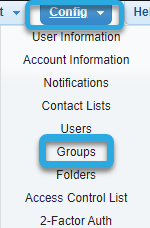
- Login and Access User Management
After logging in to the Control Panel, hover over the blue Config tab at the top of the screen and select the option for Groups.
- Create Group
You should now be on the Groups page. Click on the Group dropdown menu and select Create New.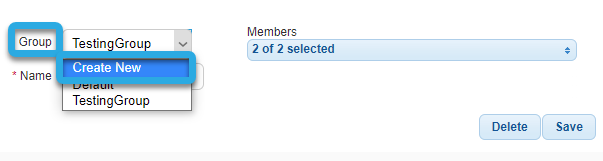
- Name Group
Give your group an easy-to-identify name.

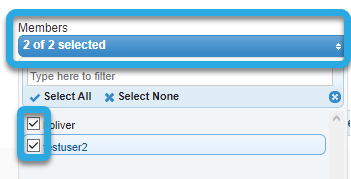
- Select Members
To add members to the group, click on the Members dropdown menu to expand the list of users. Next, check the box beside each user you want to add to the group.
- Save Group
After choosing all members for the group, click on the blue Members dropdown menu again to minimize the list, and then tap the Save button.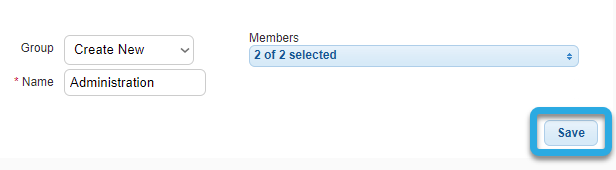
After saving, a success message will pop up confirming your group information was saved. Click OK to exit the pop-up window.
Related Tutorials:
Sub-users, groups, and permissions
Modify User Groups and Permissions
Visit our website for more information on our services and features.
-

The most-trusted global provider of high-assurance TLS/SSL, PKI, IoT and signing solutions.
-


-
© 2022-2025, DigiCert, Inc. All rights reserved.
Cookie Settings
