
- Contact us
-

choose your language
-

Knowledge Base
Manage Contact Lists
Learn how to add, modify, and delete contacts with the new contact lists features in DNS Made Easy’s Control Panel 3.0.
- Navigate to Contact Lists

- Add a Contact
Click on the Plus sign under the Contact List Table

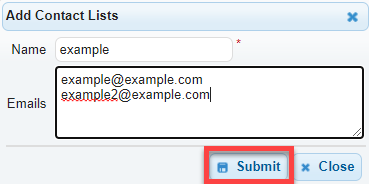
- Specify Contact List
Choose a name to specify the new Contact List (A). If you would like, you can select groups that have been created to be part of the new Contact List (B).
- Assigning Contact Lists to receive specific Notifications
Navigate to Notifications under the Config menu.

- Define Notifications
Finally, you can select what type of notifications different groups will be receiving. In this example, the On-Call List which includes the Finance Team and the additional recipients we have added, will be notified for Account Expiration Warnings, Automatic Renewal Failure, Automatic Renewal Notice, DNS Query usage Invoices and Purchase Summaries and Recipients.
Click on Save to apply your configuration.

-

The most-trusted global provider of high-assurance TLS/SSL, PKI, IoT and signing solutions.
-


-
© 2022-2025, DigiCert, Inc. All rights reserved.
Cookie Settings
