
- Contact us
-

choose your language
-

Knowledge Base
How to Sign Up With DNS Made Easy (Free Trial)
Overview
DNS Made Easy provides users with a free 30-day trial that includes our most popular features. This guide will show you how to sign up for a DNS Made Easy trial account.
Your trial will include:
- 3 domains
- 900 records
- Unlimited queries during the trial period
- 1 Failover record
- 5 query logs
- 2FA
- DNS analytics
- 100% SLA-backed
Prerequisites
- None
How to Start a Free Trial With DNS Made Easy
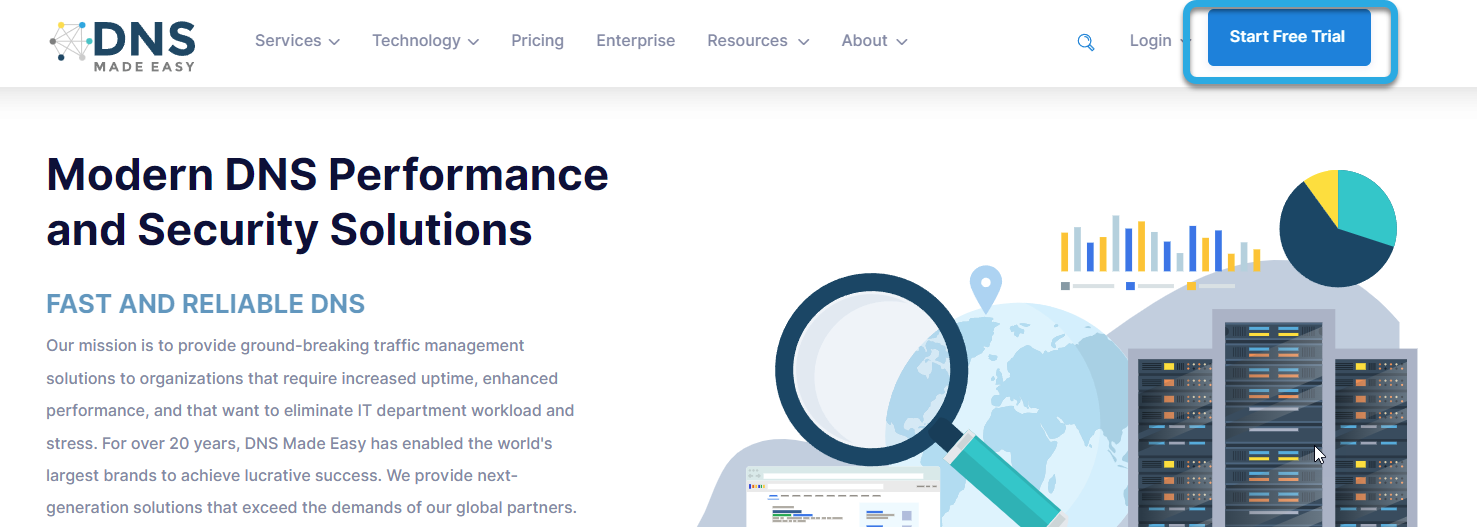
- Start Free Trial
From the home page of the DNS Made Easy’s website, click the Start Free Trial button at the top right of the screen.
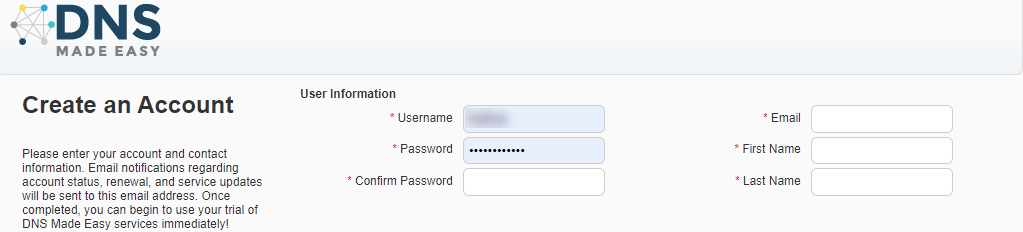
- Create an Account
On the Create an Account page, fill out the following information:
- Username
- Password
- Confirm Password
- First Name
- Last Name
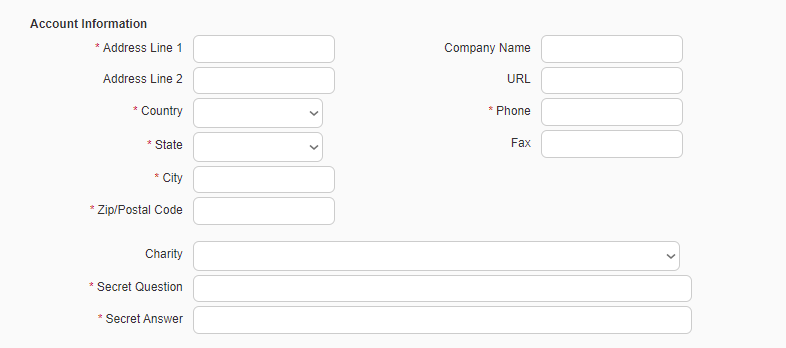
Next, enter the account information for your business:
- Company name
- Address/City/State/Country/Zip
- Phone
- Fax (optional)
- Secret question
- Secret answer
- Charity (optional)
When you sign up with DNS Made Easy, you can opt for a portion of your purchase to go to one of the following charities:- St. Jude Children’s Research Hospital / ALSAC
- American Heart Association
- America’s Second Harvest
- Juvenile Diabetes Research Foundation (JDRF)
- Mount Vernon Ladies Association
- Red Cross
- Sierra Club Foundation
- United States Fund for UNC
Note: The charity option would apply to your first paid transaction.
Before creating your account, choose which emails you would like to receive from DNS Made Easy and confirm that you have read our master service agreement.
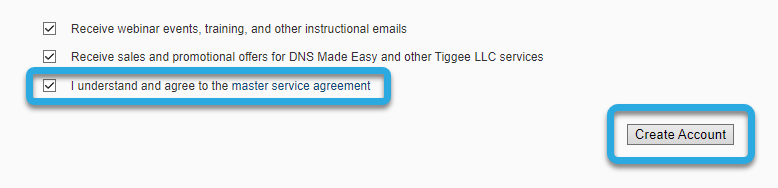
Click the Create Account button to complete your trial sign-up.
You have successfully created your DNS Made Easy account and can start using our services right away.
Here are some tutorials to help get you started:
Add a Domain Using Advanced Settings
-

The most-trusted global provider of high-assurance TLS/SSL, PKI, IoT and signing solutions.
-


-
© 2022-2025, DigiCert, Inc. All rights reserved.
Cookie Settings
