Knowledge Base
Import Dyn DNS Records from a Zone File
You may have seen the image below notifying you that Dyn is retiring its services on May 31, 2023. We are here to help with your DNS transfer.

Zone files are the standard format for zones in the DNS. For this tutorial, you will need to have your zone file in .txt format. Here is a step-by-step guide on how to import.
1. Navigate to Managed DNS
At the top of the Control Panel, Click the DNS Menu and select Managed DNS from the drop-down.

2. Click “Add Domains”

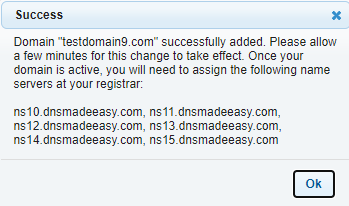
3. Delegate the Nameservers provided for your domain.
You will be notified of which nameservers are assigned to your domain. These will need to be delegated to your registrar.

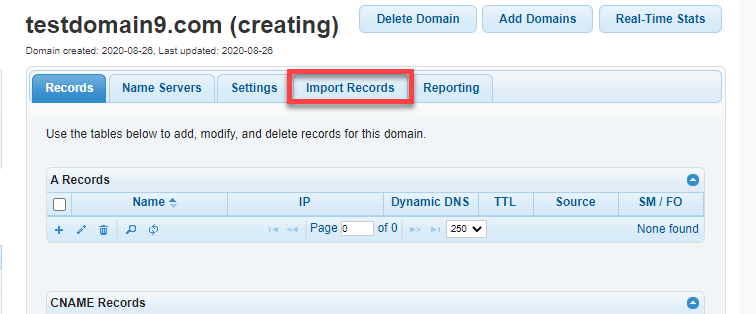
4. Click the Import Records tab just below the domain name.
After clicking Ok, you will be taken to your new domain's zone. Click the Import Records tab just below the domain name.

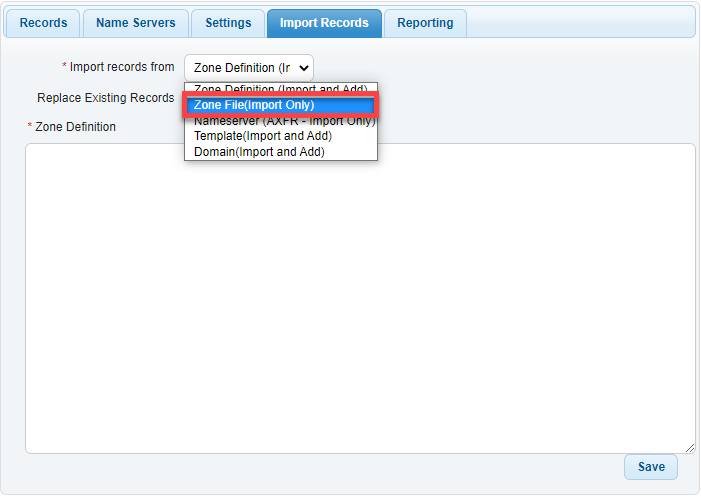
5. Click the dropdown menu and select Zone File (Import Only)
Select Zone File (Import Only) and then paste the contents of your .txt zone file into the file below. Click Save and you're good to go! All records will propagate automatically.

Need Further Assistance Migrating from Dyn?
Talk to one of our DNS experts today and schedule a demo of our services.

