- Contact Us
-

choose your language
-

Knowledge Base
Gatekeeper certificate backup instructions for Chrome
Description
This article gives instructions on how to back up your Gatekeeper Certificate in Chrome.
 Solution
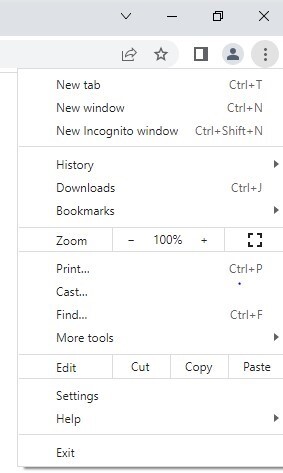
- Open a Google Chrome browser Window.
- Click on the three dots at the top right-hand corner > go to “Settings”.
 |
|
- Go to “Privacy and security” on the left-hand side menu.

- In the middle, go to “Security”.

- Under the “Advanced” section > click on “Manage certificates”.
- Click on “Manage imported certificates from Windows”

- A Certificates window would pop up. Please check if your gatekeeper certificate appears under the “Personal” tab. (In case you have multiple certificates installed, you may need to expand the “Issued By” / “Expiry Date” columns to confirm the certificate details. (i.e. Your Gatekeeper certificate should show as “DigiCert Gatekeeper …” under the “Issued By” column. Please also check the “Expiry Date” column to ensure the certificate selected is valid certificate).

- Select the Gatekeeper certificate you want to back up > click the "Export" button.
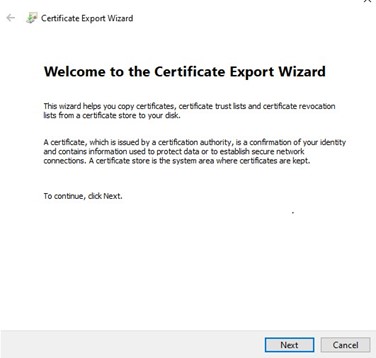
- Click “Next” on the first screen of the Certificate Export Wizard.
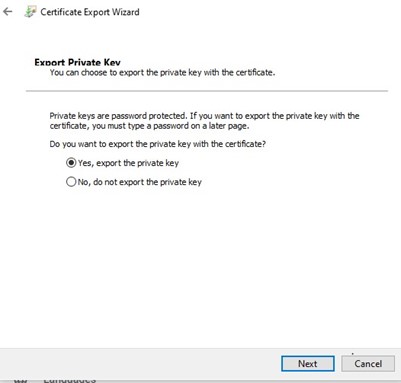
- Select “Yes, export the private key”. Then click “Next”.
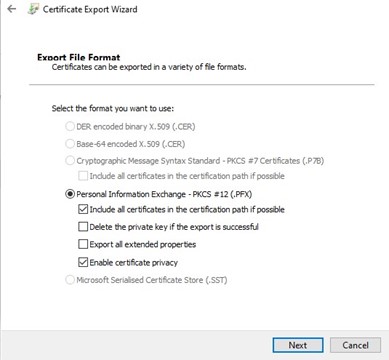
- Put a tick in "Include all certificates in the certification path if possible". Then click “Next”.
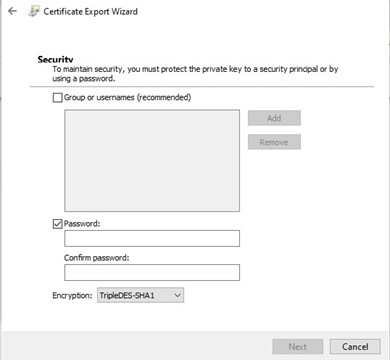
- Put a tick in the "Password" check box and set a password to protect your certificate backup.
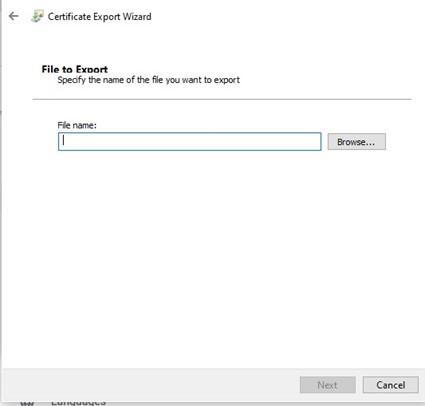
- Click on "Browse" to choose a file location where you would like to save the file and put in the file name.
- Click the "Next" button and then the "Finish" button on the next page to complete the steps.
You have successfully created a backup .pfx file on the specified file name and location you selected.
-

The most-trusted global provider of high-assurance TLS/SSL, PKI, IoT and signing solutions.
-


-
© 2022-2025, DigiCert, Inc. All rights reserved.
Cookie Settings
