- Contact Us
-

choose your language
-

Knowledge Base
Gatekeeper certificate import instructions for Internet Explorer
Solution
To import Gatekeeper certificates, please start by ensuring you have two certificate backup files with the extension .pfx or .p12. The following instructions will need to be completed twice - once for each certificate.
- Open Internet Explorer
- From the menu bar, select Tools followed by Internet Options
- Select the Content tab, then click the Certificates button
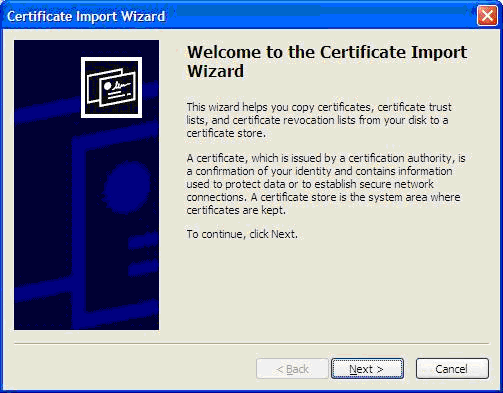
- Click the Import button to import your certificate
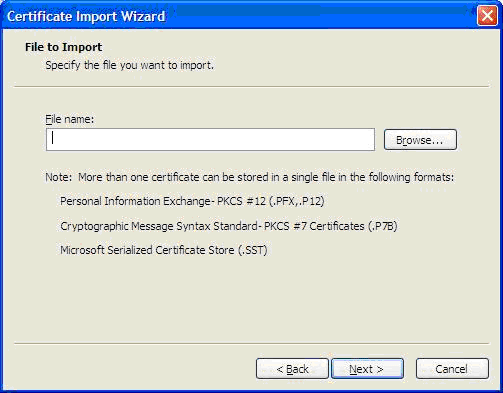
- On the certificate selection screen, select Browse and then navigate to where your backup file is located. Please make sure “files of type” is set to “Personal Information Exchange (*.pfx,*.p12)”. Once you have selected the certificate backup file, click the Next button.
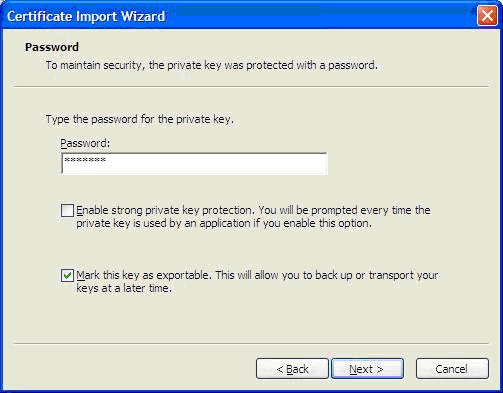
- Type the password for your certificate and make sure that the tick box “Mark this key as exportable” is selected, then click the Next button.
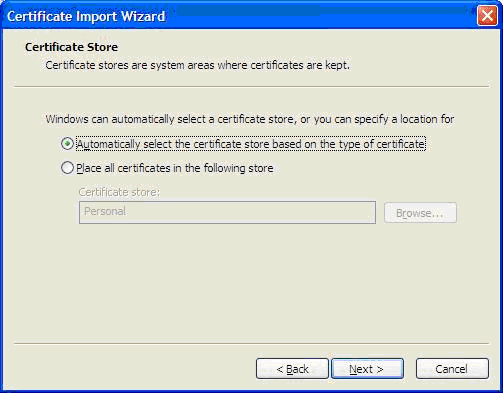
- Select “Automatically select the certificate store based on the type of certificate”, then click the Next button.
- On the Completing the Certificate Import Wizard screen, click the Finish button.
- You should receive a prompt that the certificate has been installed - click the OK button.
Please ensure that you repeat these steps for both the signing and encryption certificate, as required.
-

The most-trusted global provider of high-assurance TLS/SSL, PKI, IoT and signing solutions.
-


-
© 2022-2025, DigiCert, Inc. All rights reserved.
Cookie Settings
