- Contact Us
-

choose your language
-

Knowledge Base
Checkpoint VPN Appliance | Creating Your CSR
Add a Root Certificate and Subordinate (Intermediate Certificate) & Create CSR
If you have already added a root and intermediate certificate, and you have your SSL Certificate and just need to install it, see Install SSL onto a Checkpoint VPN Appliance.
How to Create Your CSR for a Checkpoint VPN Appliance
Add the Root Certificate
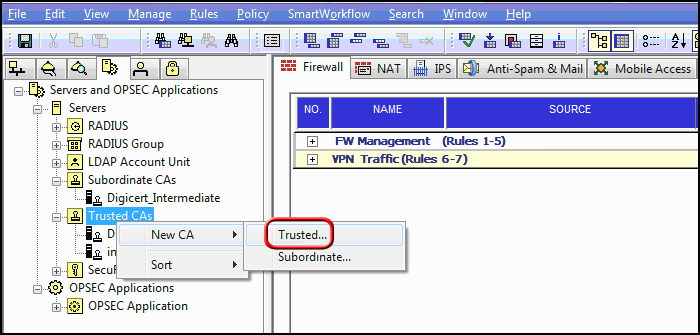
Open the SmartDashboard so you can see all of your network devices.
Right-click on Trusted CAs and then click New CA > Trusted.
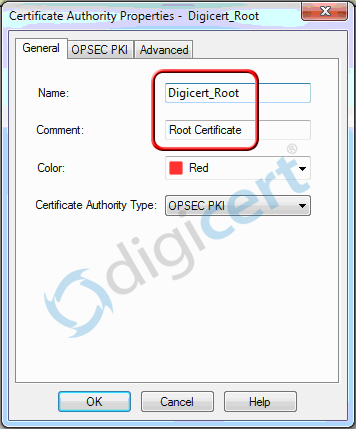
In the Certificate Authority Properties window, on the General tab, in the Name box, enter a name for the root certificate (e.g., DigiCert_Root).
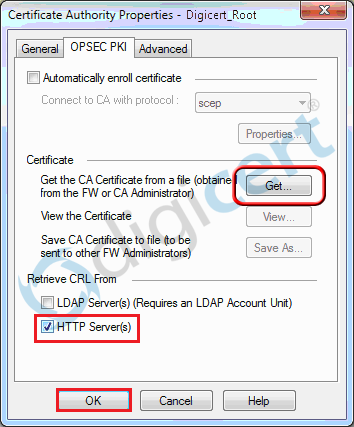
On the OPSEC PKI tab, check HTTP Server(s).
Next, click Get and browse to and open the TrustedRoot.crt file that DigiCert sent to you, and click OK.
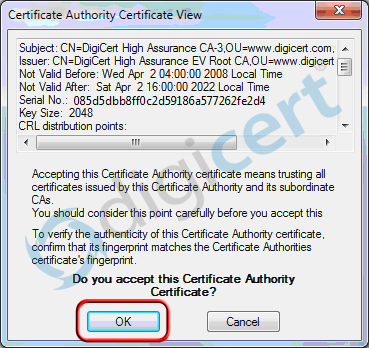
In the Certificate Authority Certificate View window, click Ok to trust this Certificate Authority root certificate.
Add the Intermediate CertificateIn the SmartDashboard, right-click on Trusted CAs and then click New CA > Subordinate.
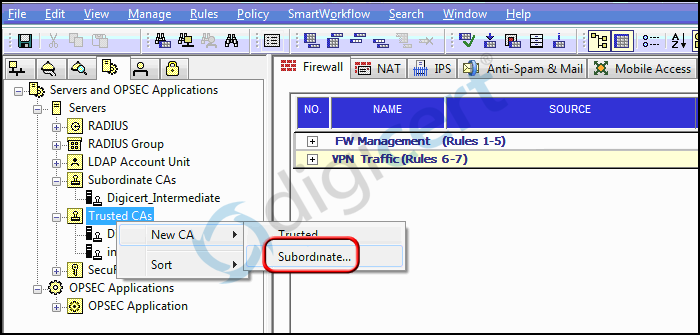
In the Certificate Authority Properties window, on the General tab, in the Name box, enter a name for the Intermediate certificate (e.g., DigiCert_Intermediate).

On the OPSEC PKI tab, click Get and browse to and open the DigiCertCA.crt file that DigiCert sent to you, and click OK.
In the Certificate Authority Certificate View window, click Ok to trust this Certificate Authority intermediate certificate.
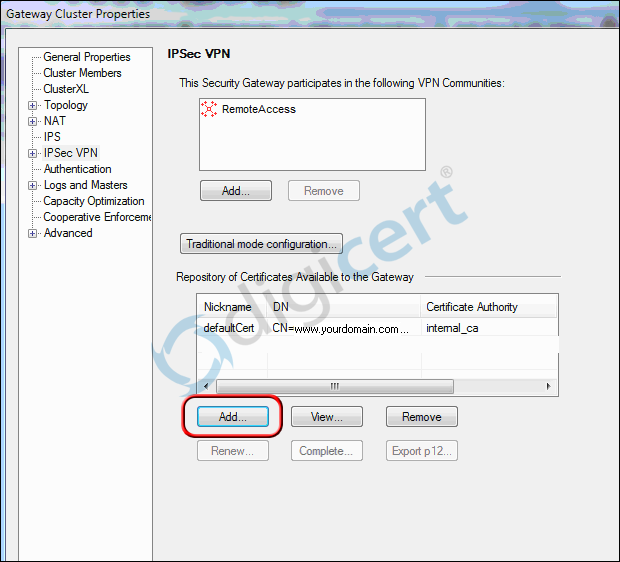
Create Your CSRIn the SmartDashboard, open the Device properties for the device you want the SSL certificate to be sent out from, and click Add to create a CSR.
For example, go to Gateway Cluster > IPSec VPN > Add > Certificate Nickname (e.g., FQDN).
In the Certificate Properties window, enter the following information:
Certificate Nickname: Enter a nickname for the certificate (e.g., DigiCert or yourdomain.com). CA to enroll from: In the drop-down list, select the intermediate certificate that you added (e.g,. DigiCert_Intermediate). 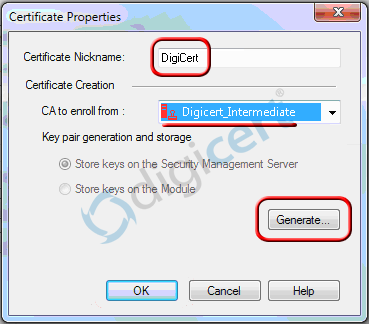
When you are finished, click Generate.
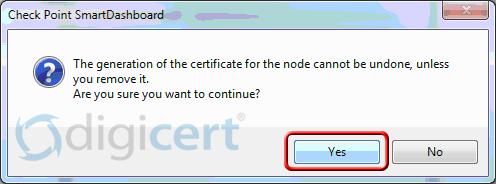
In the Check Point SmartDashboard window, click Yes to generate the certificate for this node.
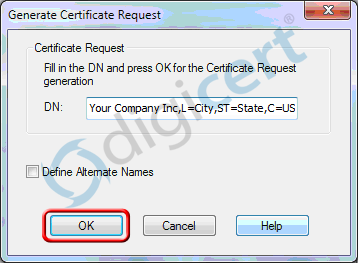
In the Generate Certificate Request window, in the DN box, enter CN=vpn.yourdomain.com and click OK.
Note: If you are getting a SAN certificate, click Define Alternate Names and when prompted, specify those names.
Next, click View to see the CSR.
In the Certificate Request View window, do the following and then click OK:
Click Copy to Clipboard. Copies the certificate contents to the clipboard. If you use this option, we recommend that you paste the CSR into a tool such as Notepad. If you forget and copy some other item, you still have access to the CSR, and you do not have to go back and recreate it. Click Save to File. Saves the CSR on your Checkpoint VPN Appliance. We recommend that you use this option. 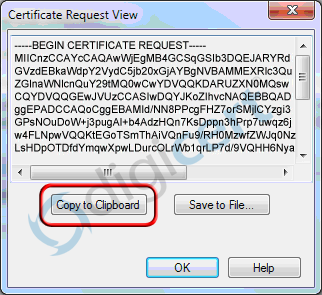
Use a text editor to open the file. Then, copy the text, including the -----BEGIN CERTIFICATE REQUEST----- and -----END CERTIFICATE REQUEST----- tags, and paste it into the DigiCert order form.
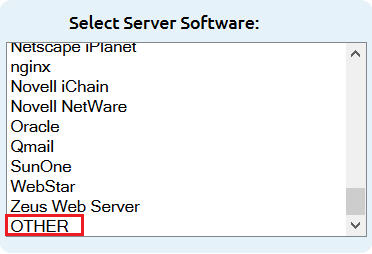
Note: During your DigiCert SSL Certificate ordering process, make sure that you select Other when asked to select Server Software. This option ensures that you receive all the required certificates Checkpoint SSL Certificate installation.
After you receive your SSL Certificate from DigiCert, you can install it.
-

The most-trusted global provider of high-assurance TLS/SSL, PKI, IoT and signing solutions.
-


-
© 2022-2025, DigiCert, Inc. All rights reserved.
Cookie Settings
