- Contact Us
-

choose your language
-

Knowledge Base
DigiCert Support Portal | Submit a Case
This article will guide you through the steps needed to submit a case to our support team.
1. Click Submit A Case at the top of the page.

2. The case submission form will open and prompt you to enter the specifics of your query.
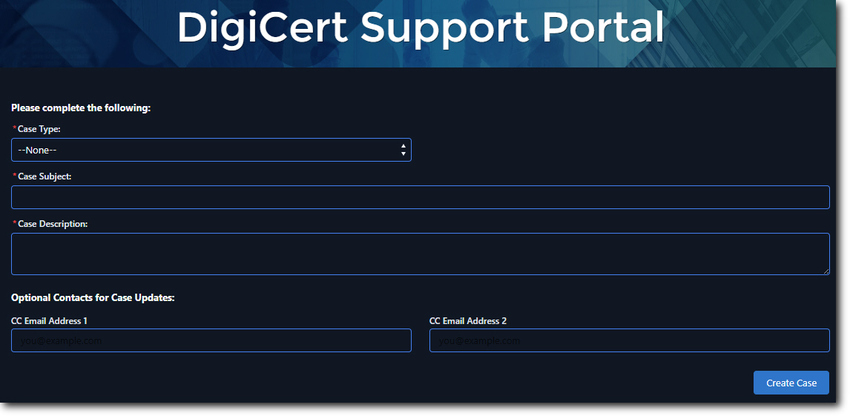
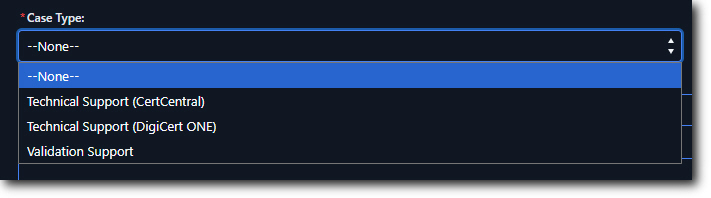
3. Select the support team which the query is addressed to from the Case Type drop-down field.
4. Enter a Case Subject, followed by your query in the Case Description field.
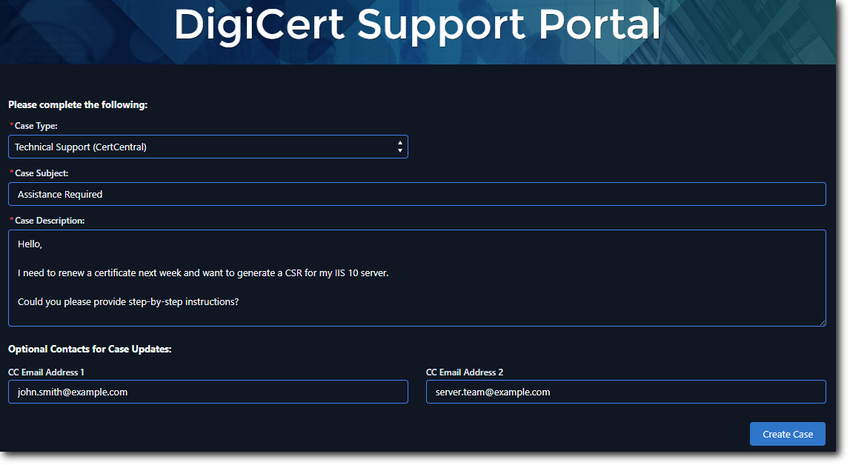
You can include additional contacts on the case who will also receive notifications whenever the case is updated. To do this, enter the contacts’ e-mail addresses into the respective CC Email Address fields.
Note: Up to two contacts can be included per case.
5. Click Create Case to continue.
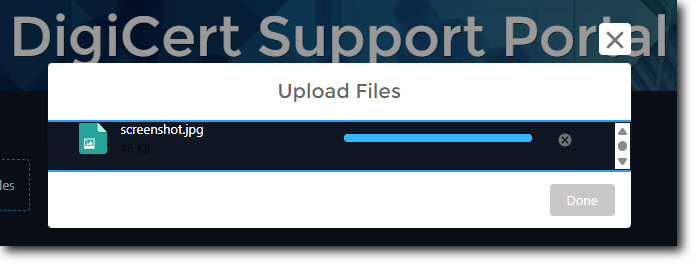
6. If you need to attach any files to your case, such as logs or a CSR, click Upload files to select the required files. Alternatively, drag and drop the required files over the Or drop files field.
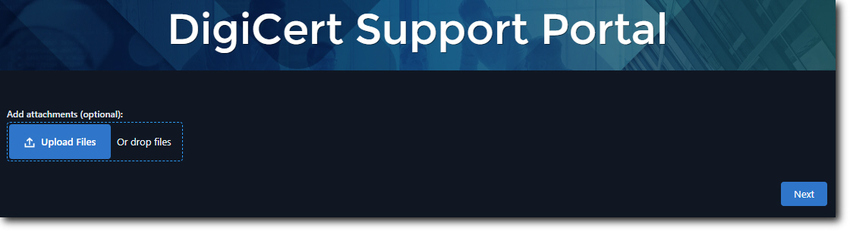
7. Your files will be uploaded and added to your case.
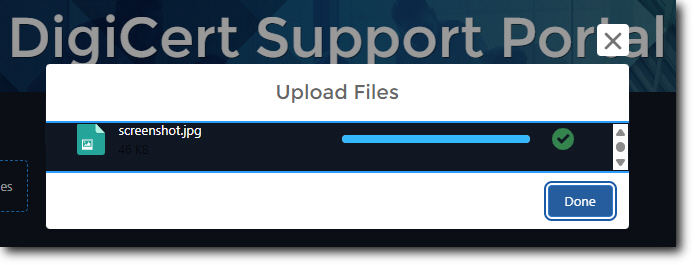
8. Once the files have been uploaded, click Done.
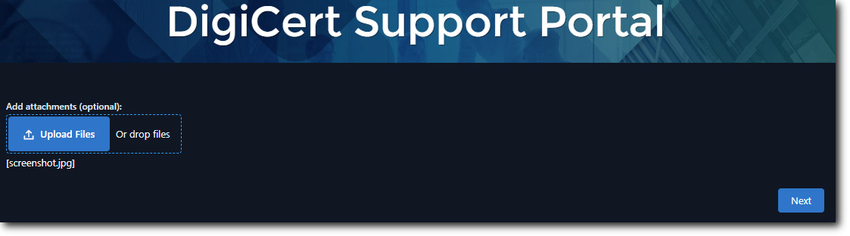
9. Your uploaded files will be listed beneath the Upload files button. Click Next when you are ready to proceed.
10. A new case will be created and you will be presented with a case number.
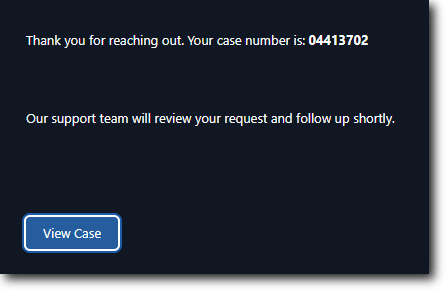
11. Click on View Case to open the newly created case.
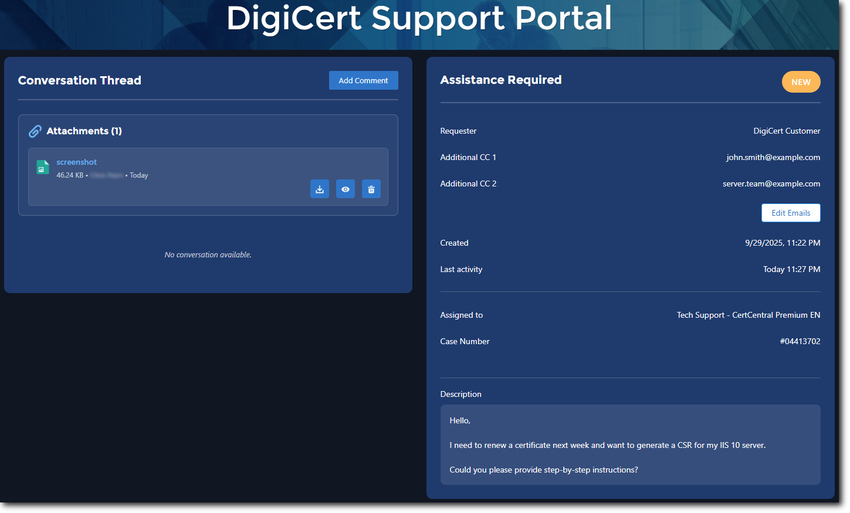
Note: Whenever a new case is created, a confirmation e-mail will be sent to you, as well as any contacts which you included when the case was submitted.
Once the case has been submitted, a member of our support team will reach out to assist you.
-

The most-trusted global provider of high-assurance TLS/SSL, PKI, IoT and signing solutions.
-


-
© 2022-2025, DigiCert, Inc. All rights reserved.
Cookie Settings
