- Contact Us
-

choose your language
-

Knowledge Base
Sign your code using your DigiCert-provided hardware token and the DigiCert Certificate Utility for Windows
Code Signing with the DigiCert® Certificate Utility for Windows
DigiCert does not recommend using the DigiCert Certificate Utility for Windows to create a code signing certificate CSR or to sign code files on currently supported versions of Windows. The DigiCert Certificate Utility for Windows signs files using a legacy SHA-1 hashing algorithm, and newer versions of Windows no longer trust files signed with SHA-1.
If you have not yet ordered your Code Signing Certificate, visit Code Signing Certificates.
After installing your DigiCert Code Signing Certificate on your DigiCert-provided hardware token, use the DigiCert Certificate Utility for Windows to:
- Sign your code – How to Sign Your Code with the DigiCert Utility
- Check your file's code signing signature – How to Check Your File's Signature
If you have not yet installed your DigiCert Code Signing Certificate on your DigiCert-provided hardware token, please refer to https://knowledge.digicert.com/solution/set-up-your-digicert-provided-etoken
How to Sign Your Code with the DigiCert Utility
- Plug the token containing your Code Signing certificate into the Windows machine where you’ll be signing your code.
- On your Windows server or workstation, download and save the DigiCert® Certificate Utility for Windows executable (DigiCertUtil.exe).
- Run the DigiCert® Certificate Utility for Windows.
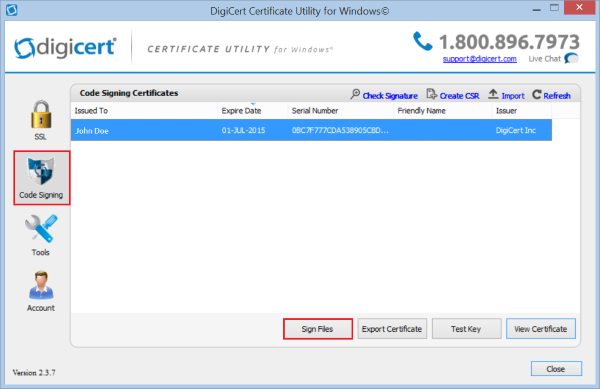
Double-click DigiCert Util. - In the DigiCert Certificate Utility for Windows©, click Code Signing (blue and Silver shield), select the Code Signing Certificate that you want to use to sign your code, and click Sign Files.
- In the Code Signing window, click Add Files, then browse for and select the file that you want to sign.
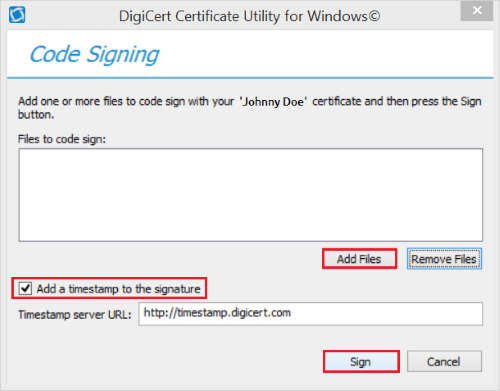
- Next, check Add a timestamp to the signature if you want to timestamp your signature.
- To add your timestamp, you must be connected to the internet.
- Adding a timestamp allows your signature to remain valid after the Code Signing Certificate has expired, as long as the code remains unchanged.
- Finally, click Sign.
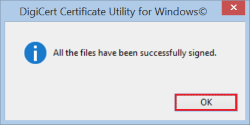
- When you receive the “All the files have been successfully signed” message, click OK.
- Congratulations, you should now have a freshly signed piece of code, ready to use.
How to Check Your File's Signature
- In the DigiCert Certificate Utility for Windows©, click Code Signing (blue and silver shield).
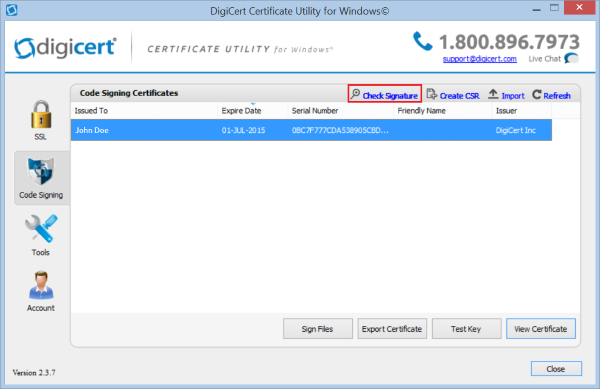
- Next, click Check Signature to select and open the file whose signature you want to check.
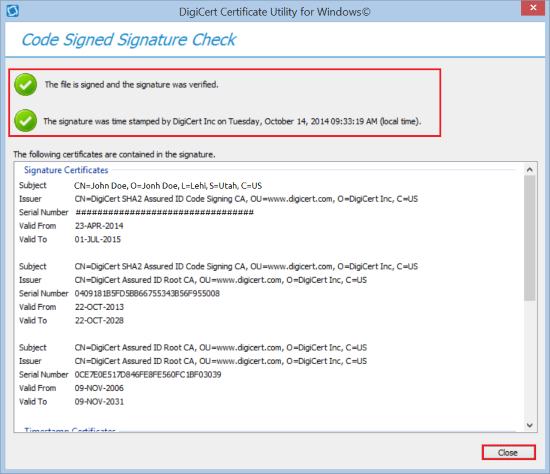
- In the Code Signed Signature Check window, you should see a green checkmark for “The file is signed and the signature was verified”.
If you checked Add a timestamp to the signature, you should also see a green checkmark for “The signature was time stamped by DigiCert Inc on 'Date and Time'”.
-

The most-trusted global provider of high-assurance TLS/SSL, PKI, IoT and signing solutions.
-


-
© 2022-2025, DigiCert, Inc. All rights reserved.
Cookie Settings
