- Contact Us
-

choose your language
-

Knowledge Base
Windows | Exporting Your Code Signing Certificate
How to Export Your Code Signing Certificate
Is your code signing certificate stored on a hardware token or hardware security module? Then you cannot export it as a .pfx file with its private key.
These instructions only apply to code signing certificates issued or reissued before May 30, 2023; see Code Signing Changes in 2023.
After installing your code signing certificate, you may need to export the certificate for use on a different computer, for signing code, etc.
Internet Explorer | Exporting Your Code Signing Certificate as a PFX File
In Internet Explorer, go to Internet Options.

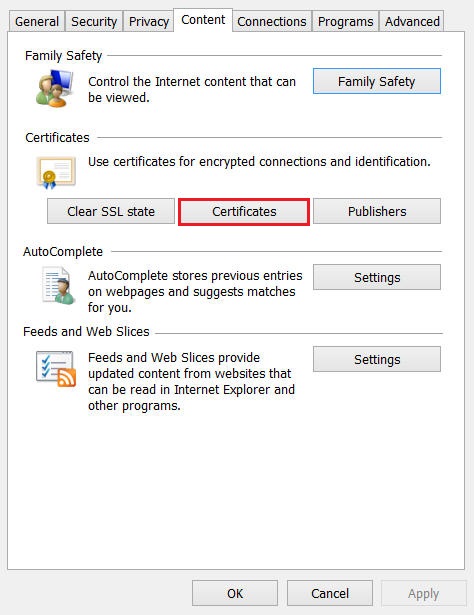
In the Internet Options window, on the Content tab, click Certificates.
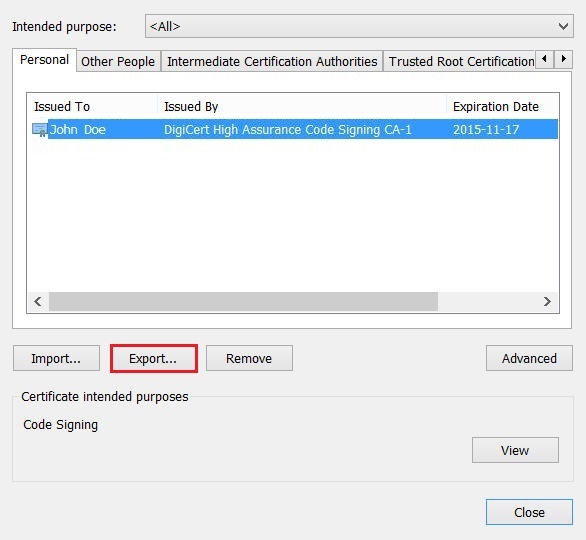
In the Certificates window, on the Personal tab, select your code signing certificate and click Export.
In the Certificate Export Wizard, on the Welcome page, click Next.
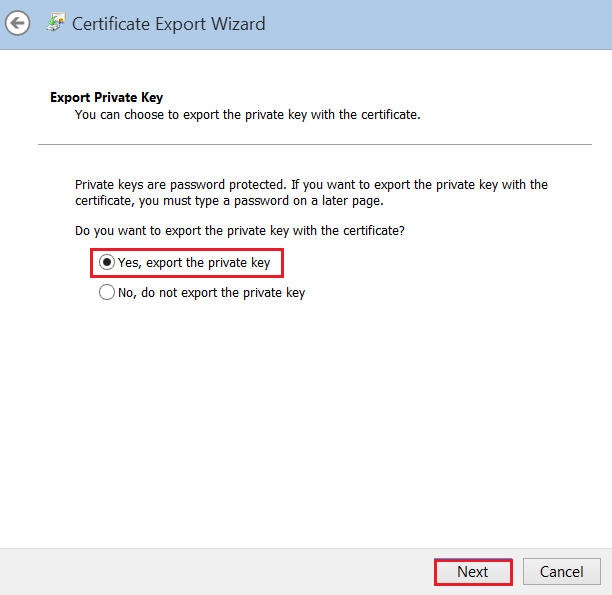
On the Export Private Key page, select Yes, export private key, and click Next.
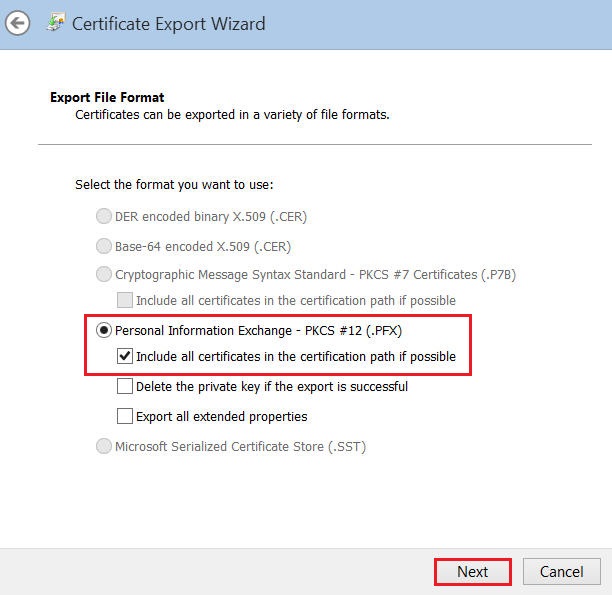
On the Export File Format page, select Personal Information Exchange – PKCS #12 (.PFX), check Include all certificates in the certification path if possible, and click Next.
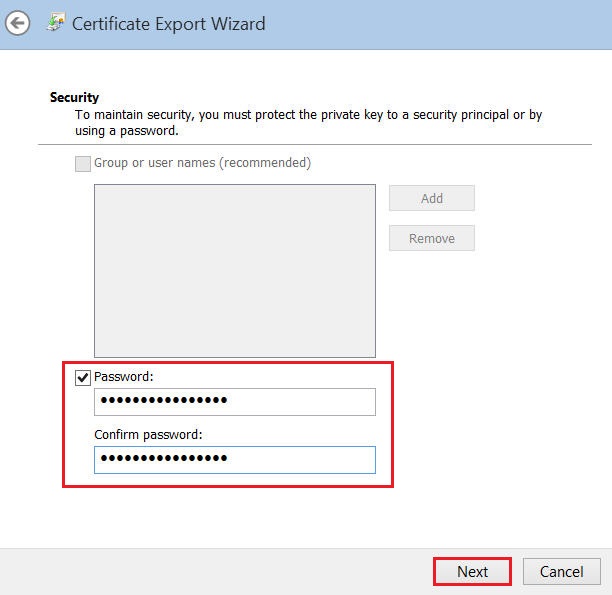
On the Security page, check Password. Then, in the Password and Confirm password boxes, type your password, and then click Next.
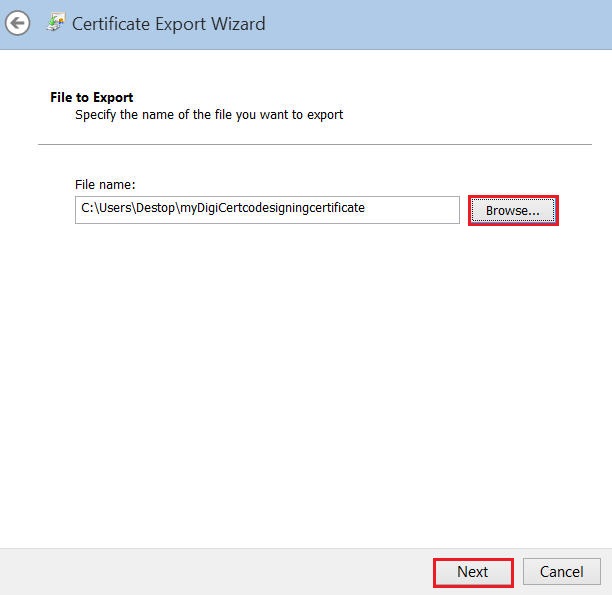
On the File to Export page, click Browse, go to where you want to save your code signing certificate (w/private key) .pfx file, provide a file name (i.e., myCodeSigningCertificate), click Save, and click Next.
Make sure to save the .pfx file in a location that you will remember and to which you have permissions.
Note: A .pfx file uses the same format as a .p12 or PKCS12 file.
On the Completing the Certificate Export Wizard page, review the settings and click Finish.
When you receive the “The export was successful” message, click OK.
Your code signing certificate should now be available in the destination directory you selected in the last step of the wizard as a .pfx file. For code signing instructions, please see our Code Signing Support & Tutorial page.
Firefox | Exporting Your Code Signing Certificate as a P12 File
In Firefox, go to Options.

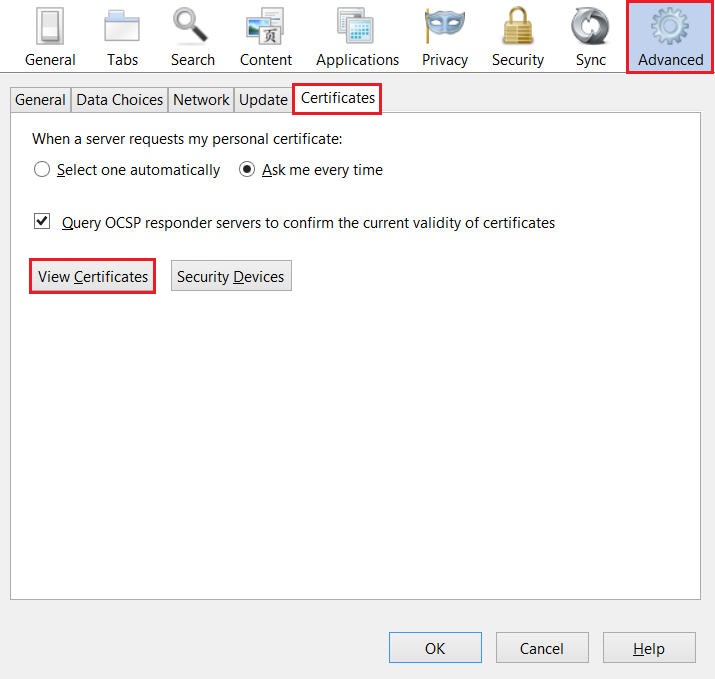
In the Options window, click Advanced, next, click the Certificates tab, and click View Certificates.
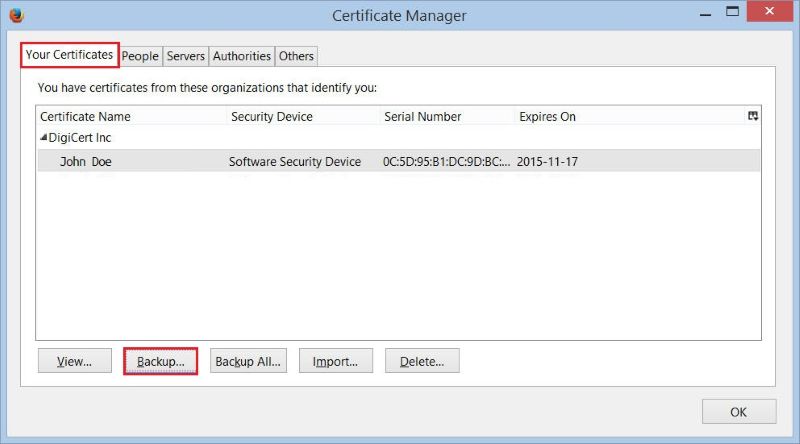
In the Certificate Manager window, on the Your Certificates tab, select your code signing certificate and click Backup.
In the File Name to Backup window, go to where you want to save your code signing certificate (w/private key) .p12 file, provide a file name (i.e., myCodeSigningCertificate), and then click Save.
Make sure to save the .p12 file in a location that you will remember and to which you have permissions.
Note: A .p12 file uses the same format as a .pfx or PKCS12 file.

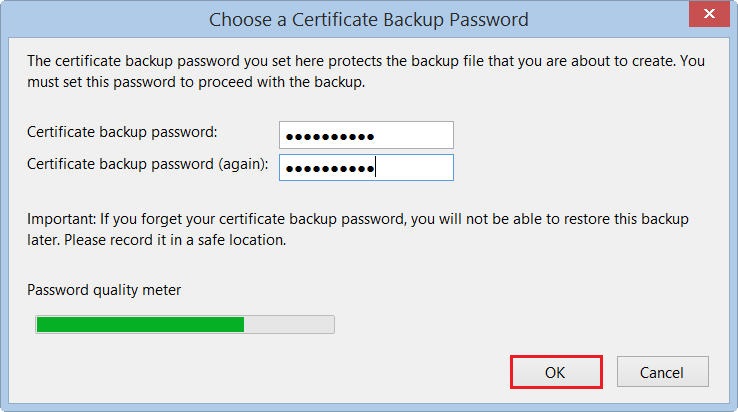
In the Choose a Certificate Backup Password window, create a Certificate backup password and click OK.
When you receive the “Successfully backed up your security certificate(s) and private key(s)” message, click OK.
Your code signing certificate should now be available in the destination directory you selected as a .p12 file. For code signing instructions, please see our Code Signing Support & Tutorial page.
-

The most-trusted global provider of high-assurance TLS/SSL, PKI, IoT and signing solutions.
-


-
© 2022-2025, DigiCert, Inc. All rights reserved.
Cookie Settings
