
Knowledge Base
Configure KeyLocker for Click-to-Sign
This article covers the steps that are needed to configure your signing machine to sign your files using DigiCert KeyLocker and the DigiCert Click-to-Sign.
Before you begin:
Ensure that you have generated your KeyLocker API key and client certificate (see: DigiCert KeyLocker Configuration for Windows)
Log in to your DigiCert ONE account to view and copy the keypair alias for your code signing certificate.
Designate a signer for your certificate in DigiCert ONE.
Configure your preferred signing tool:
Install Click-to-Sign:
1. Run the DigiCert Click-to-Sign installer.
Note: The default location of this file is C:\Program Files\DigiCert\DigiCert KeyLocker Tools\ DigiCert_Click_to_sign.msi.
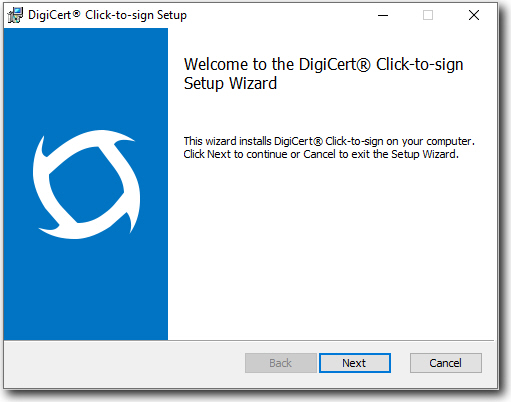
2. Once the installer has launched, click Next.
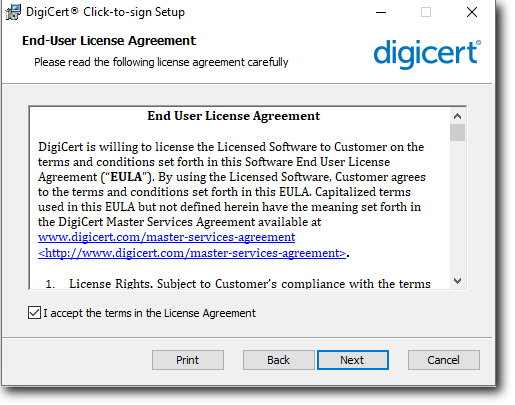
3. Select I accept the terms in the License Agreement followed by Next.
4. Set the folder into which Click-to-Sign should be installed and click Next.
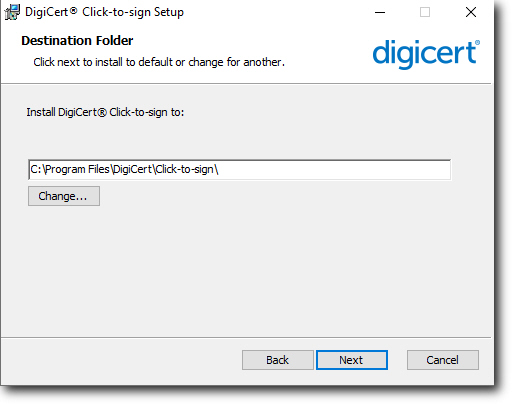
Note: The default folder is C:\Program Files\DigiCert\Click-to-sign\.
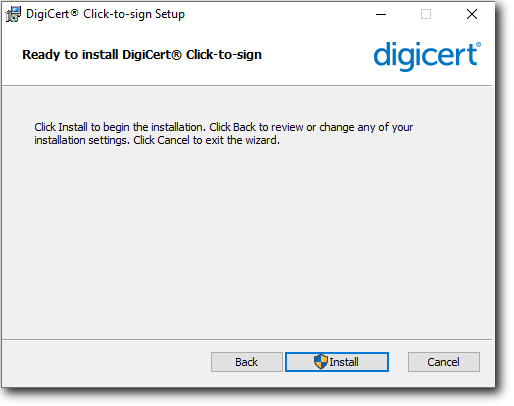
5. Click Install.
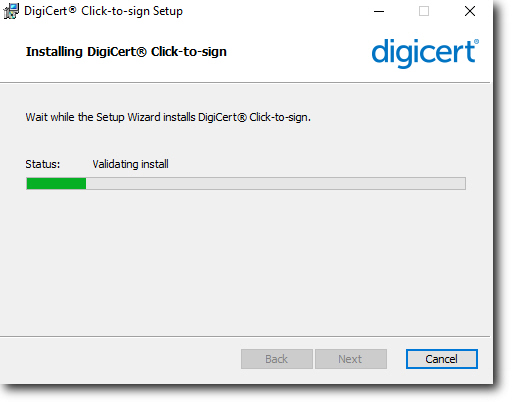
6. Wait for the installation to complete.
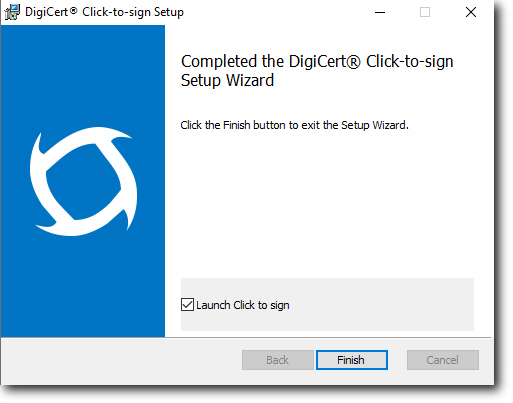
7. Select Launch Click to sign and then click Finish.
Configure Click-to-Sign:
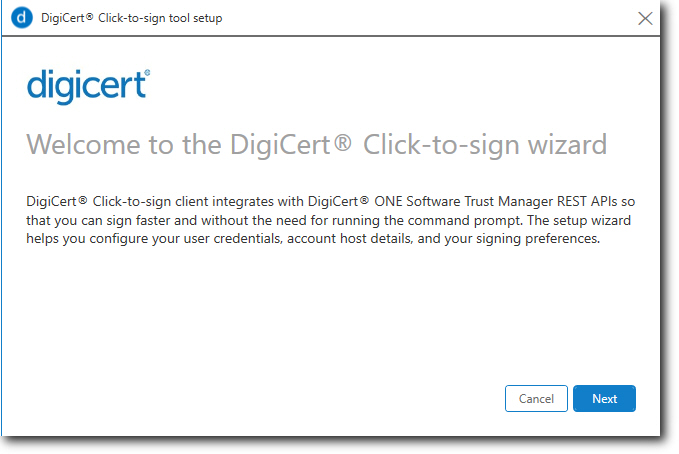
1. Once the Click-to-Sign setup wizard opens, click Next.
2. The setup wizard will prompt you for your KeyLocker credentials.
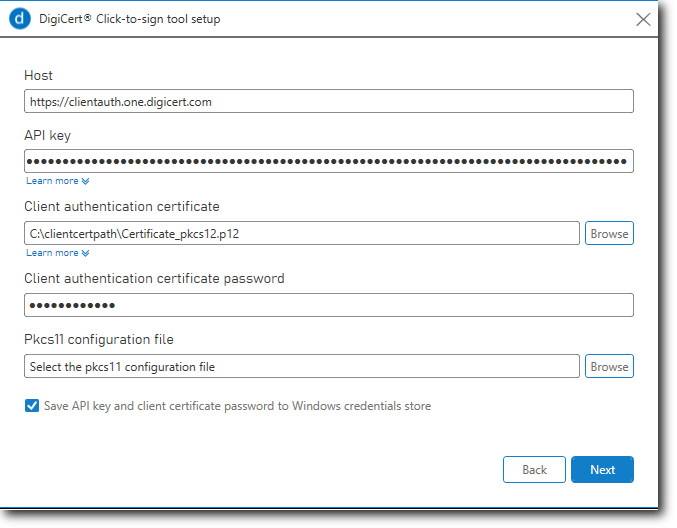
- Host: https://clientauth.one.digicert.com
- API key: Enter your KeyLocker API key string.
- Client authentication certificate: Enter the path to your client certificate.
- Client authentication certificate password: Enter the password for your client certificate.
- Pkcs11 configuration file: If you are using JarSigner, enter the path to your PKCS11 configuration file. The default path is C:\Program Files\DigiCert\DigiCert KeyLocker Tools\pkcs11properties.cfg
Select the box labelled Save API key and client certificate password to Windows credentials store and click Next.
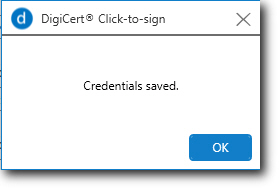
3. The setup wizard will confirm that your credentials have been saved. Click OK.
4. Select the certificate that you want to sign with by clicking on the keypair alias.
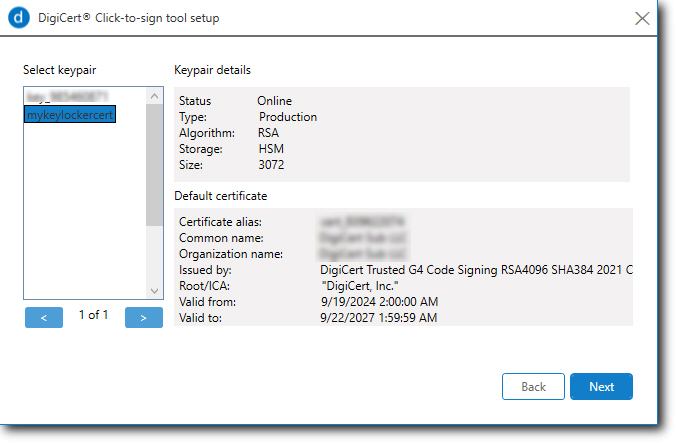
Click Next.
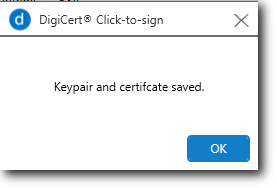
5. Once your keypair and certificate have been saved, click OK.
6. Select the Digest algorithm that you want to use when signing your files.
Note: If you do not want to timestamp your files, untick Include timestamp.
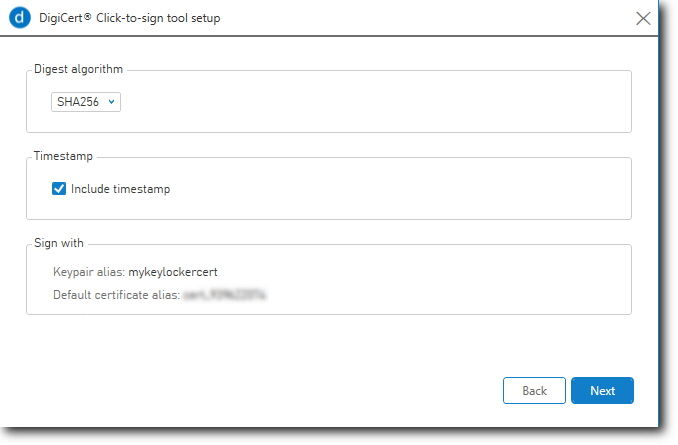
Confirm that you have selected the correct keypair alias and click Next.
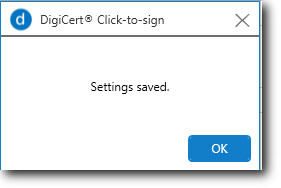
7. Once your settings have been saved, click OK.
8. The final window will display an overview of how file are signed.
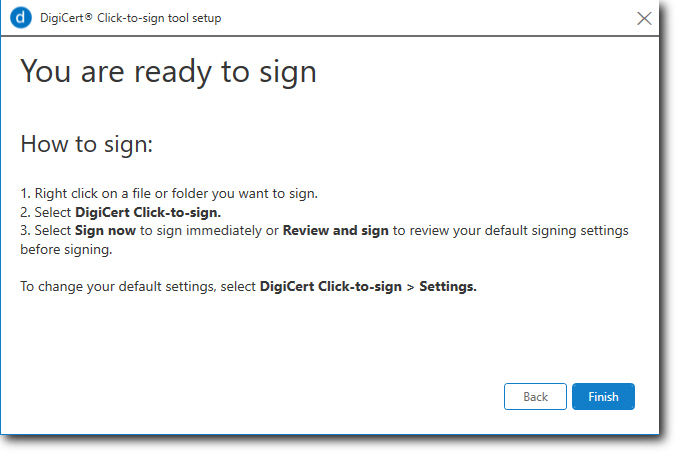
When you are ready to proceed, click Finish.
Signing Individual Files:
With Click-to-Sign, files are signed via the Windows File Explorer.
1. Open File Explorer and locate the file that you want to sign.
2. Right-click on the file; select DigiCert Click-to-sign and click on Review and sign.
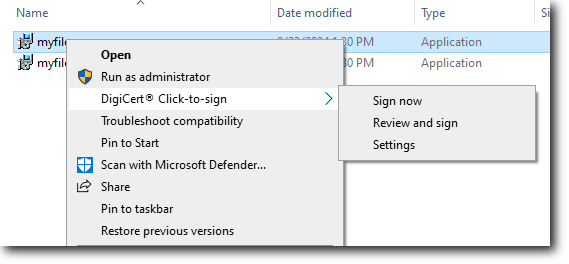
3. Confirm that your Keypair, Digest Algorithm and Timestamp settings are correct.
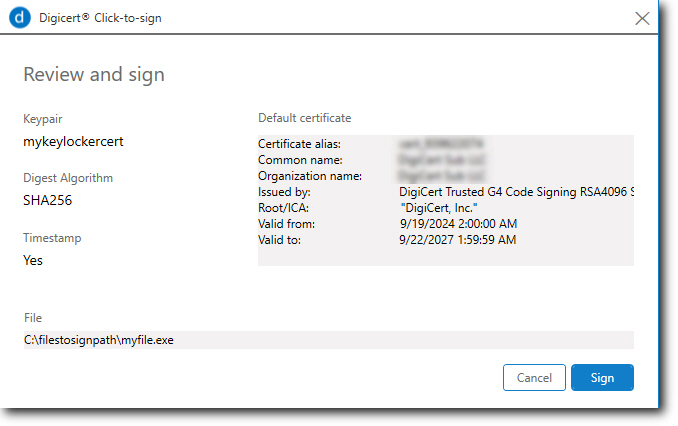
When you are ready, click on Sign.
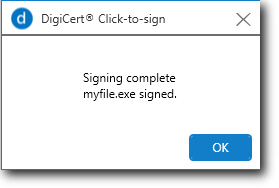
4. Click-to-sign may take a few seconds to sign your file. Once the file has been signed, click OK.
Signing Multiple Files:
1. Open File Explorer and locate the folder which contains the files that you want to sign.
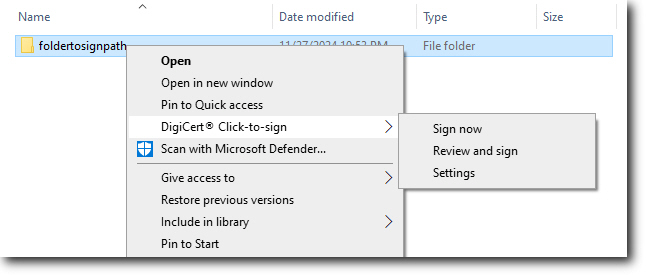
2. Right-click on the folder; select DigiCert Click-to-sign and click on Review and sign.
3. Confirm that your Keypair, Digest Algorithm and Timestamp settings are correct.
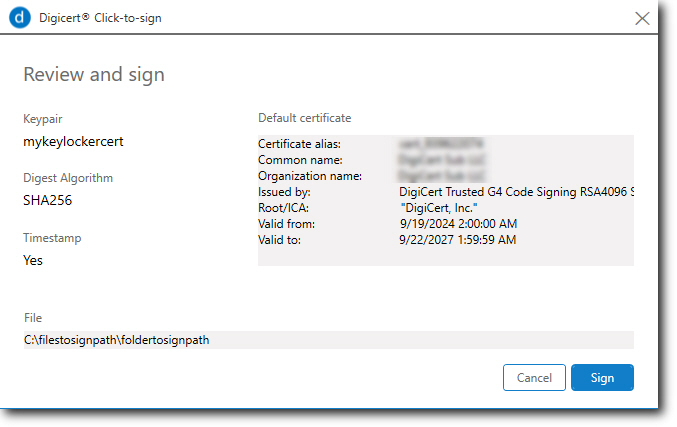
When you are ready, click on Sign.
4. Click-to-sign may take a few minutes to sign your files, depending on the quantity of files in the target folder.
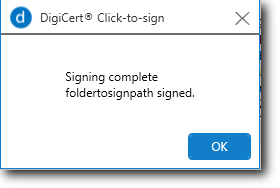
Once the file has been signed, click OK.
For troubleshooting tips, see the article Troubleshoot KeyLocker and Click-to-Sign.

