- Contact Us
-

choose your language
-

Knowledge Base
KeyLocker Configuration for Windows
This article covers the initial steps that you will follow to configure DigiCert KeyLocker on a Windows-based computer.
Before you begin:
Ensure that your Code Signing or EV Code Signing certificate has been issued by logging in to your DigiCert CertCentral account and checking the status of your certificate order.
If the status on the order is “Pending”, you can log in to your DigiCert ONE account and synchronize the certificate.
If the status on the order is “Issued”, then you are ready to proceed.
Generate your KeyLocker API key and client certificate in DigiCert ONE:
Signing files using a certificate which is stored in KeyLocker requires an API key as well as a client certificate. The API key and the client certificate are used to authenticate your signing machine so that it can access your code signing certificate during the signing process.
To generate the API key and client certificate, do the following:
1. Log in to your DigiCert ONE account.
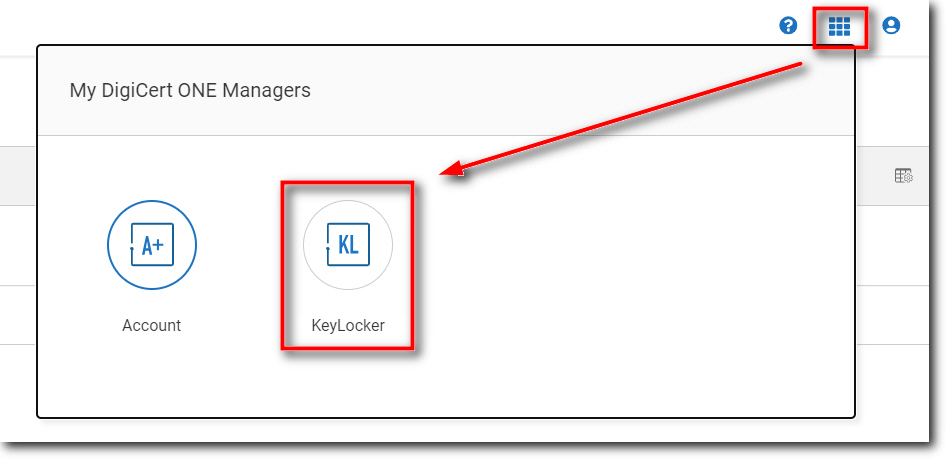
2. Click on the Manager menu at the top right-hand corner and select KeyLocker.
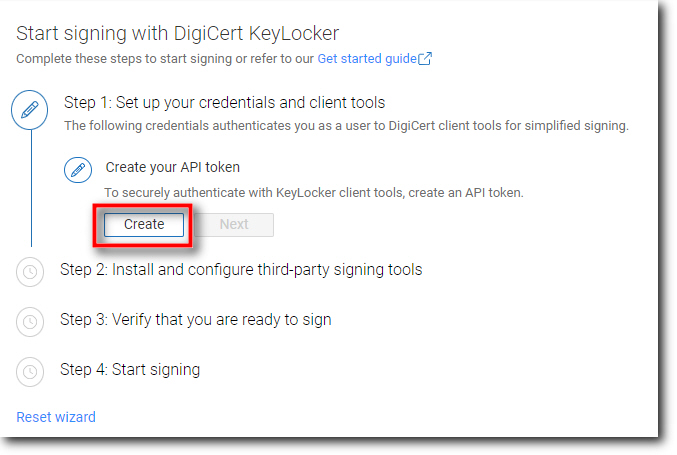
3. Click on the Get started menu.
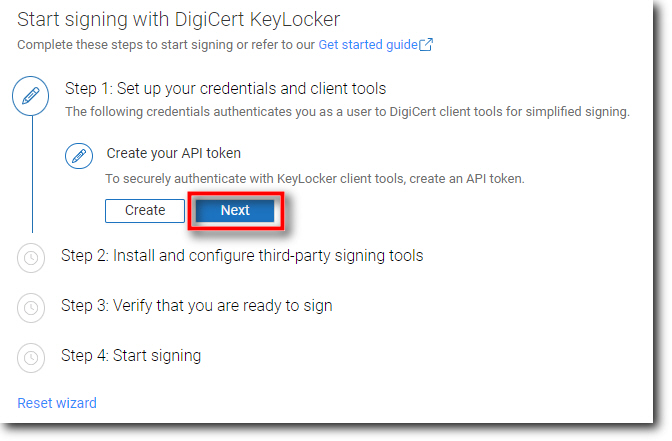
4. Under Step 1: Set up your credentials and client tools, locate Create your API token and click on the Create button.
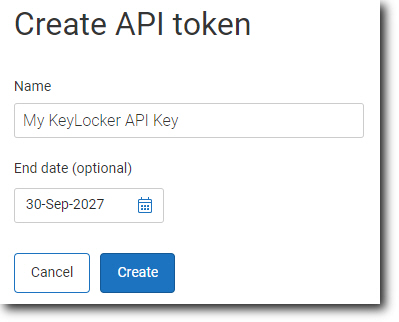
5. On the Create API token page, enter a Name for your API token as well as an End date (i.e., the date on which the API token will expire). Click on the Create button.
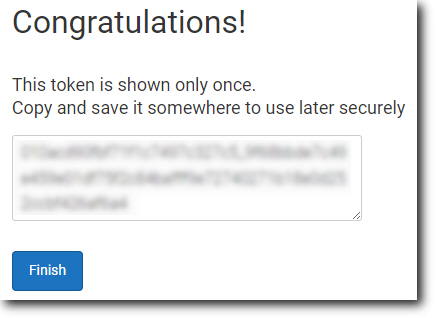
6. Your newly created token will be displayed. Save the token to a safe location (it will not be possible to view the token again). Click on the Finish button.
7. You will be taken back to the Get Started menu. Under Create your API token click Next.
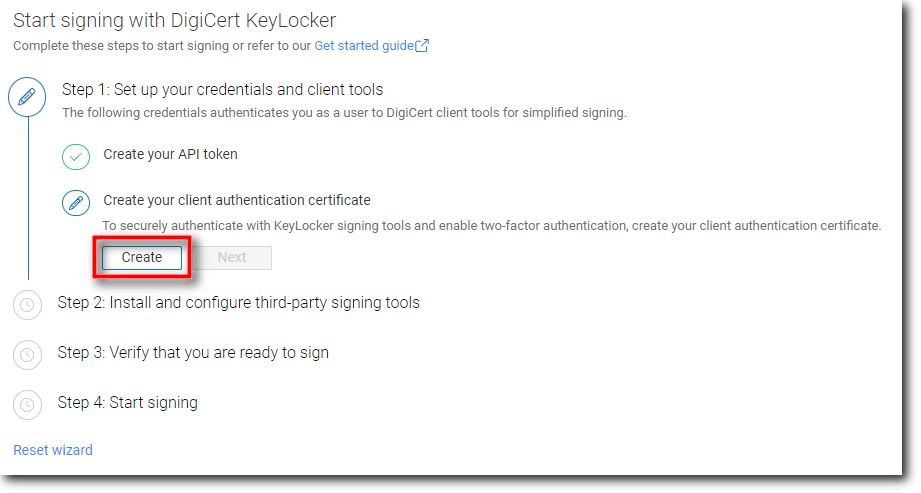
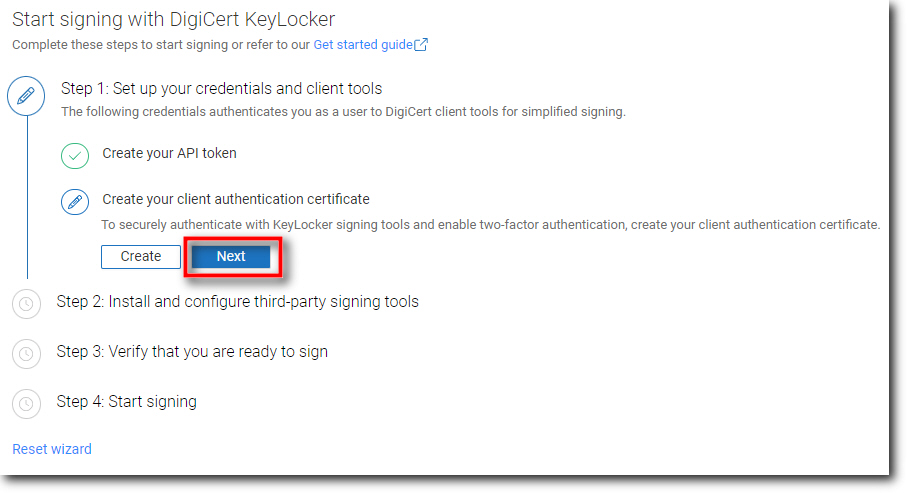
8. Locate Create your client authentication certificate and click on the Create button.
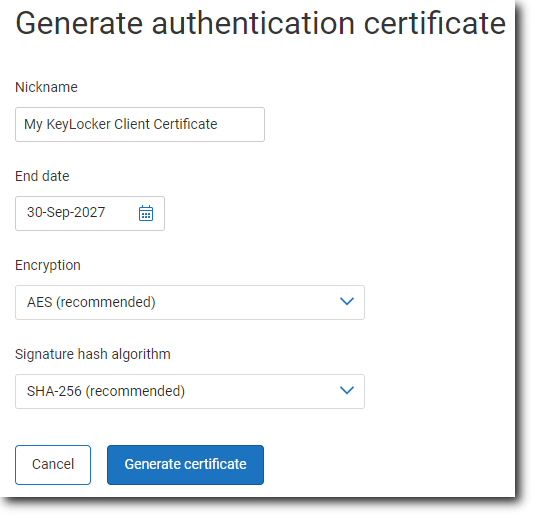
9. You will be prompted to generate a client certificate. Enter a Nickname, End date (i.e., expiry date) and click on the Generate certificate button.
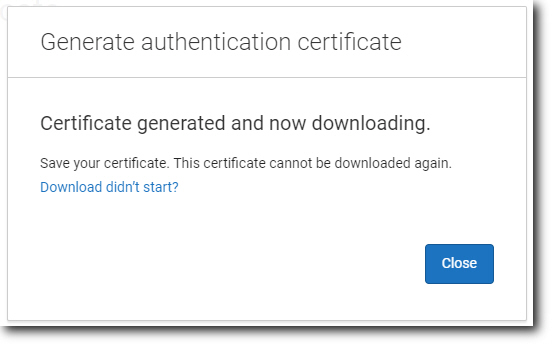
10. You will be presented with the password for the client certificate. This password is only displayed once.
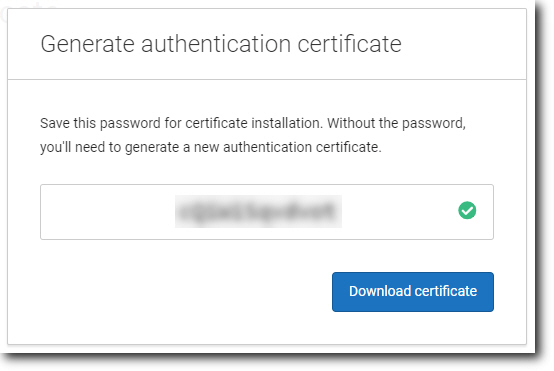
11. Click on the Download certificate button to download the .p12 certificate. Once the certificate has been downloaded, click on Close.
12. You will be taken back to the Get Started menu. Under Create your client authentication certificate, click on the Next button.
Download and install DigiCert KeyLocker Tools:
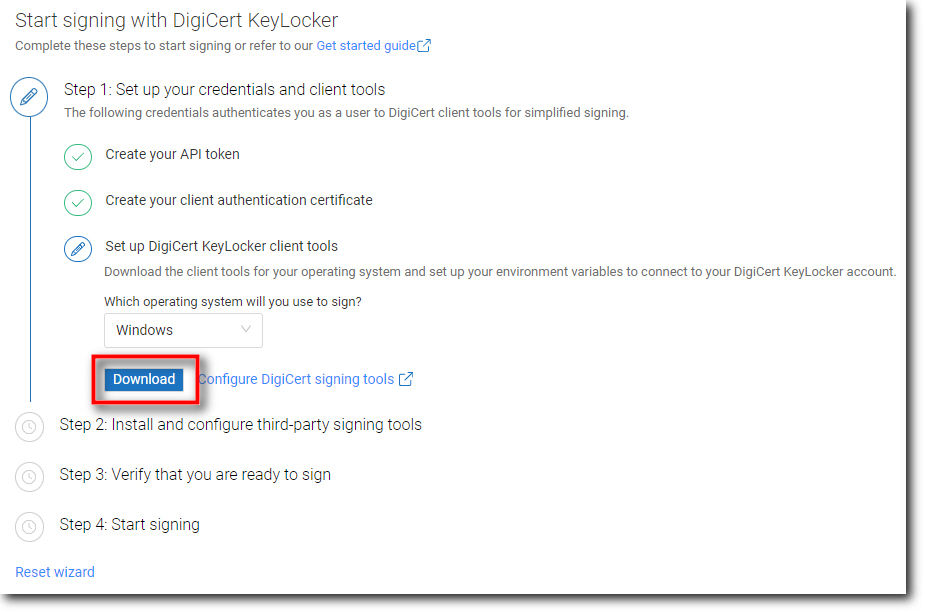
1. Locate Set up DigiCert KeyLocker client tools and click on the Download button. This will download the DigiCert KeyLocker Tools installer.
2. Run the DigiCert KeyLocker Tools installer; the file is named Keylockertools-windows-x64.exe.
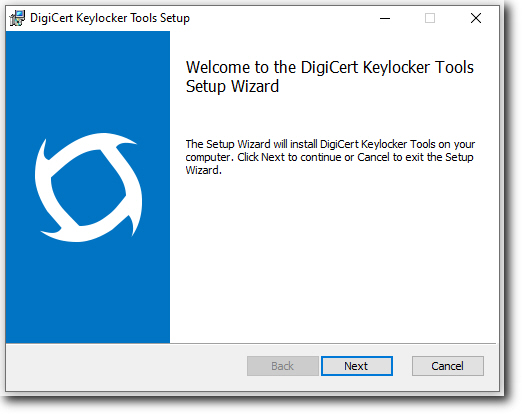
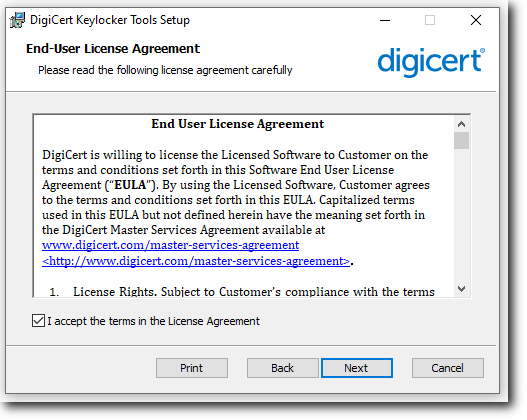
3. Accept the license agreement.
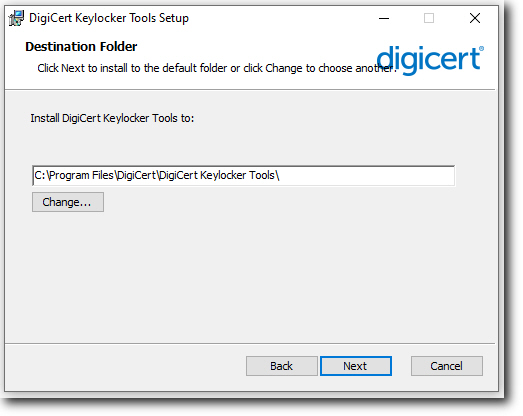
4. Confirm the installation directory.
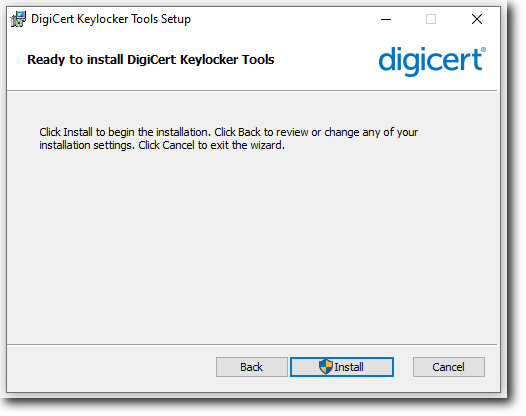
5. Click Install.
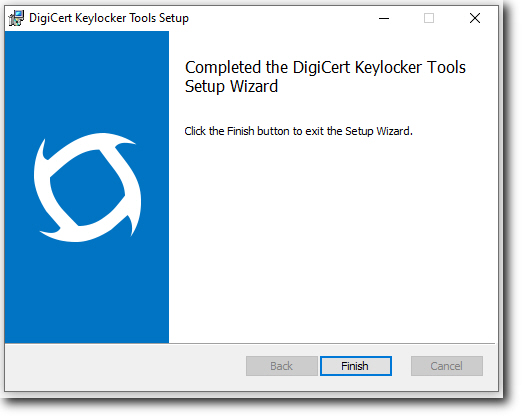
6. Once the setup has been completed, click on Finish.
After installing DigiCert KeyLocker Tools, the next step is to configure your credentials for your preferred signing tool, along with the library required for signing your files. This configuration must be completed on the machine that you use to sign your files.
KeyLocker is compatible with a variety of different signing tools and applications. To continue with the configuration, select your signing tool from the list below:
Configure KeyLocker for Click-to-Sign
Configure KeyLocker for Microsoft SignTool
Configure KeyLocker for JarSigner using the DigiCert KSP Library
Configure KeyLocker for JarSigner using the PKCS#11 Library
Configure KeyLocker for JarSigner using the Java Cryptography Extension (JCE) Library
-

The most-trusted global provider of high-assurance TLS/SSL, PKI, IoT and signing solutions.
-


-
© 2022-2025, DigiCert, Inc. All rights reserved.
Cookie Settings
